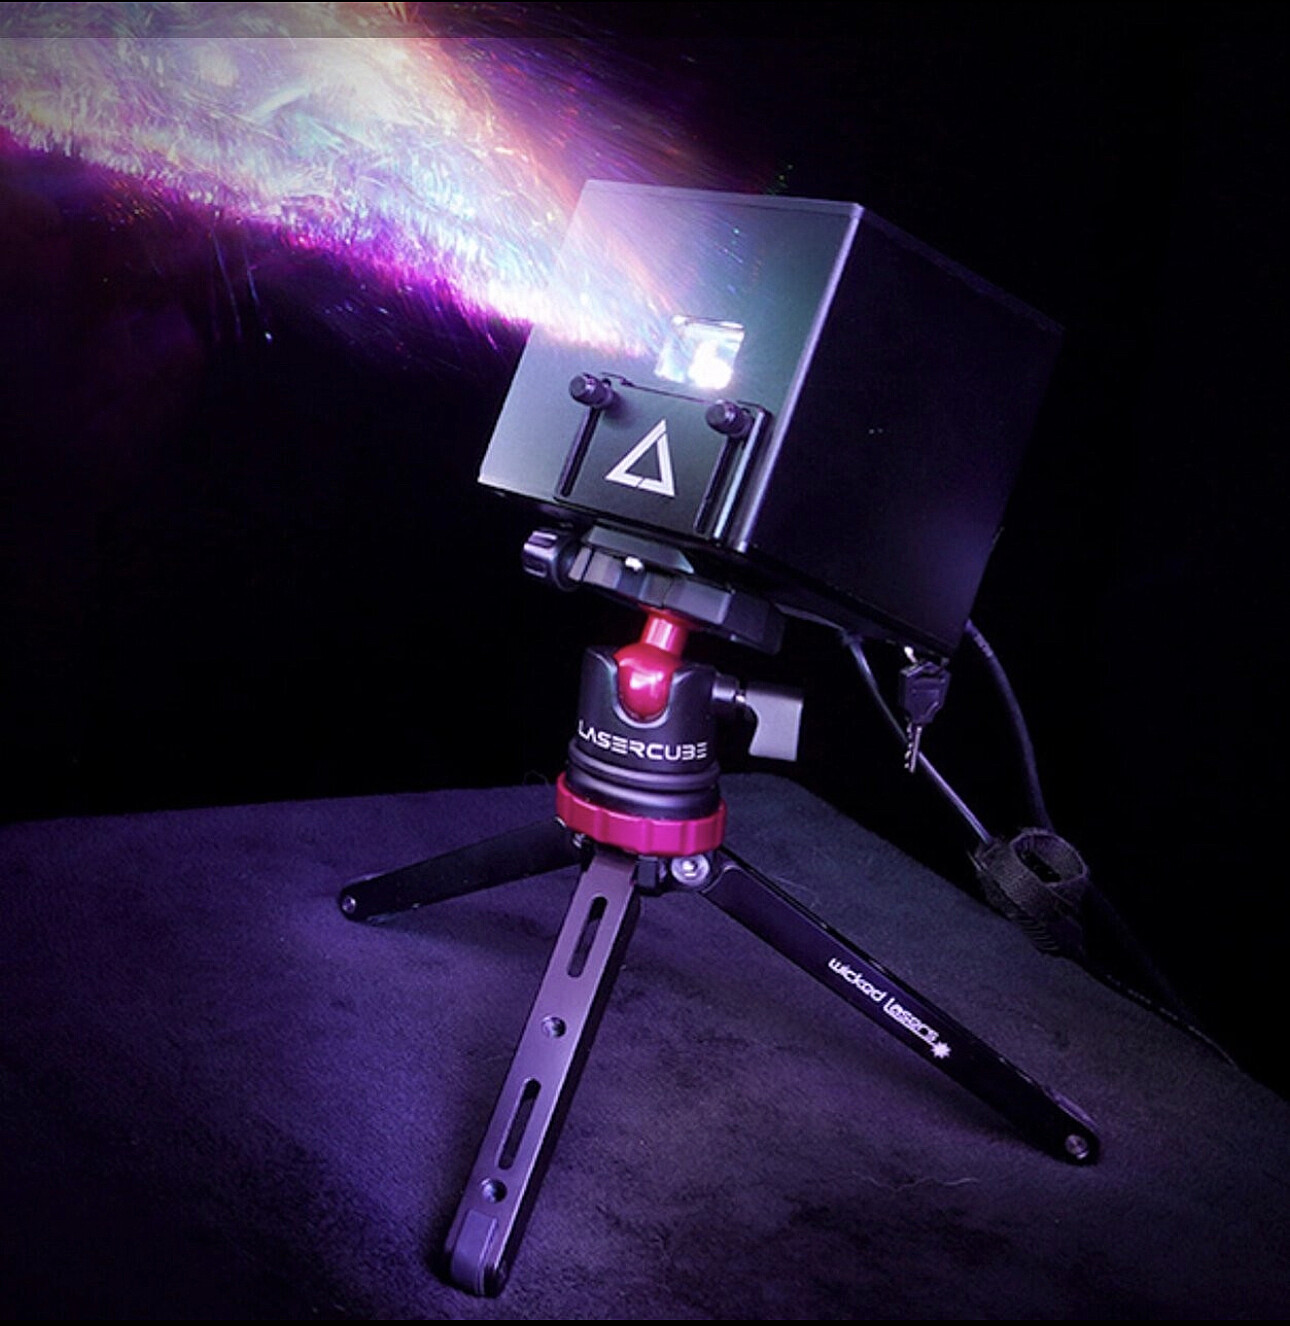
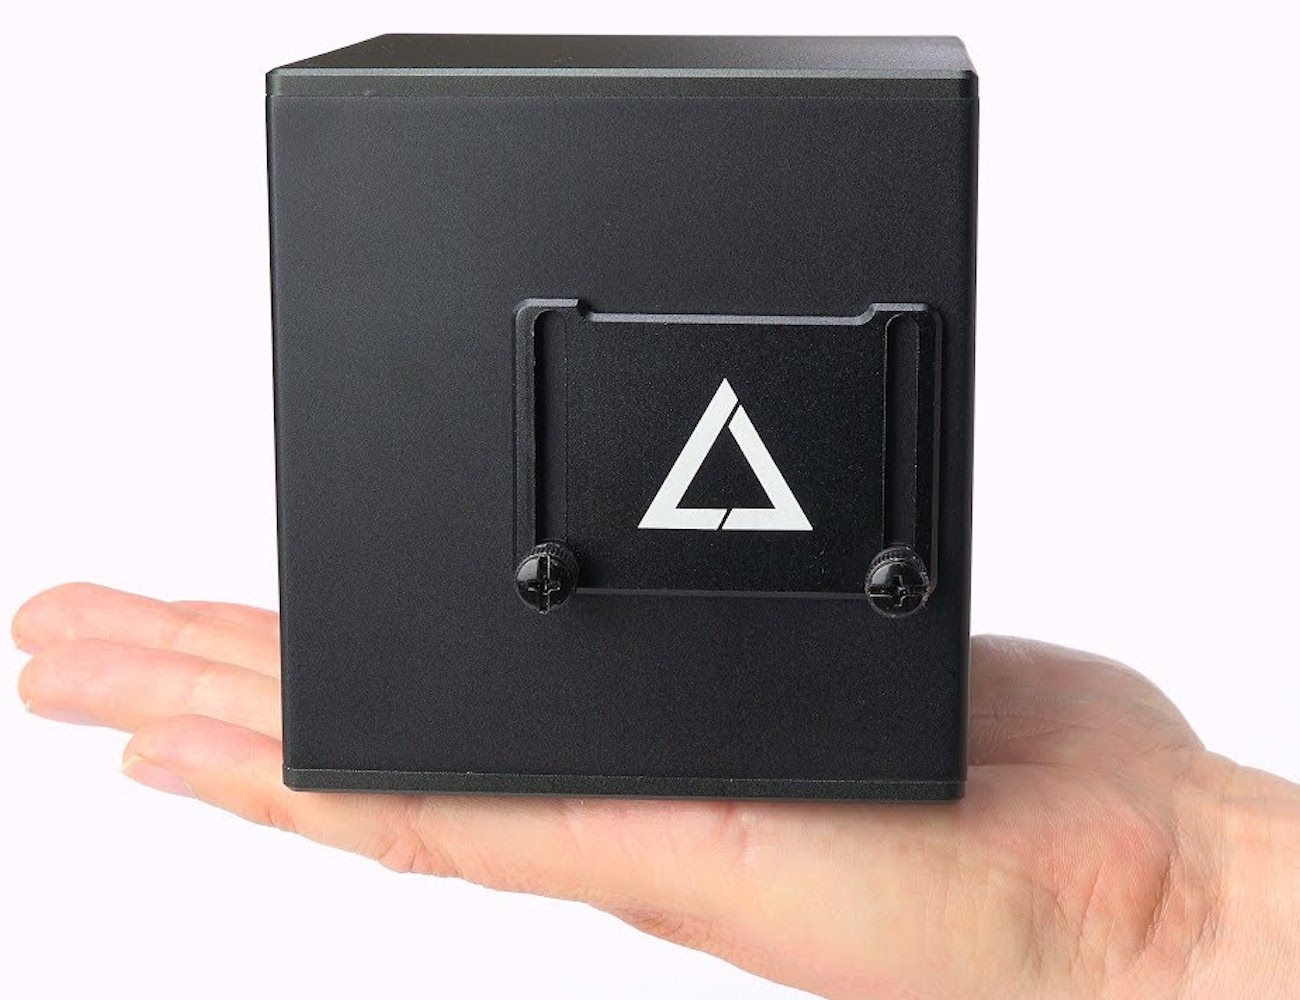
I managed to borrow a LaserCube from Ed, a small portable laser projector and after getting it working (it was an older model) I wanted a fun project to show off its coolness. Inspired by a video I saw somewhere, where they had aligned a laser and a projector that makes the most of both styles of display.

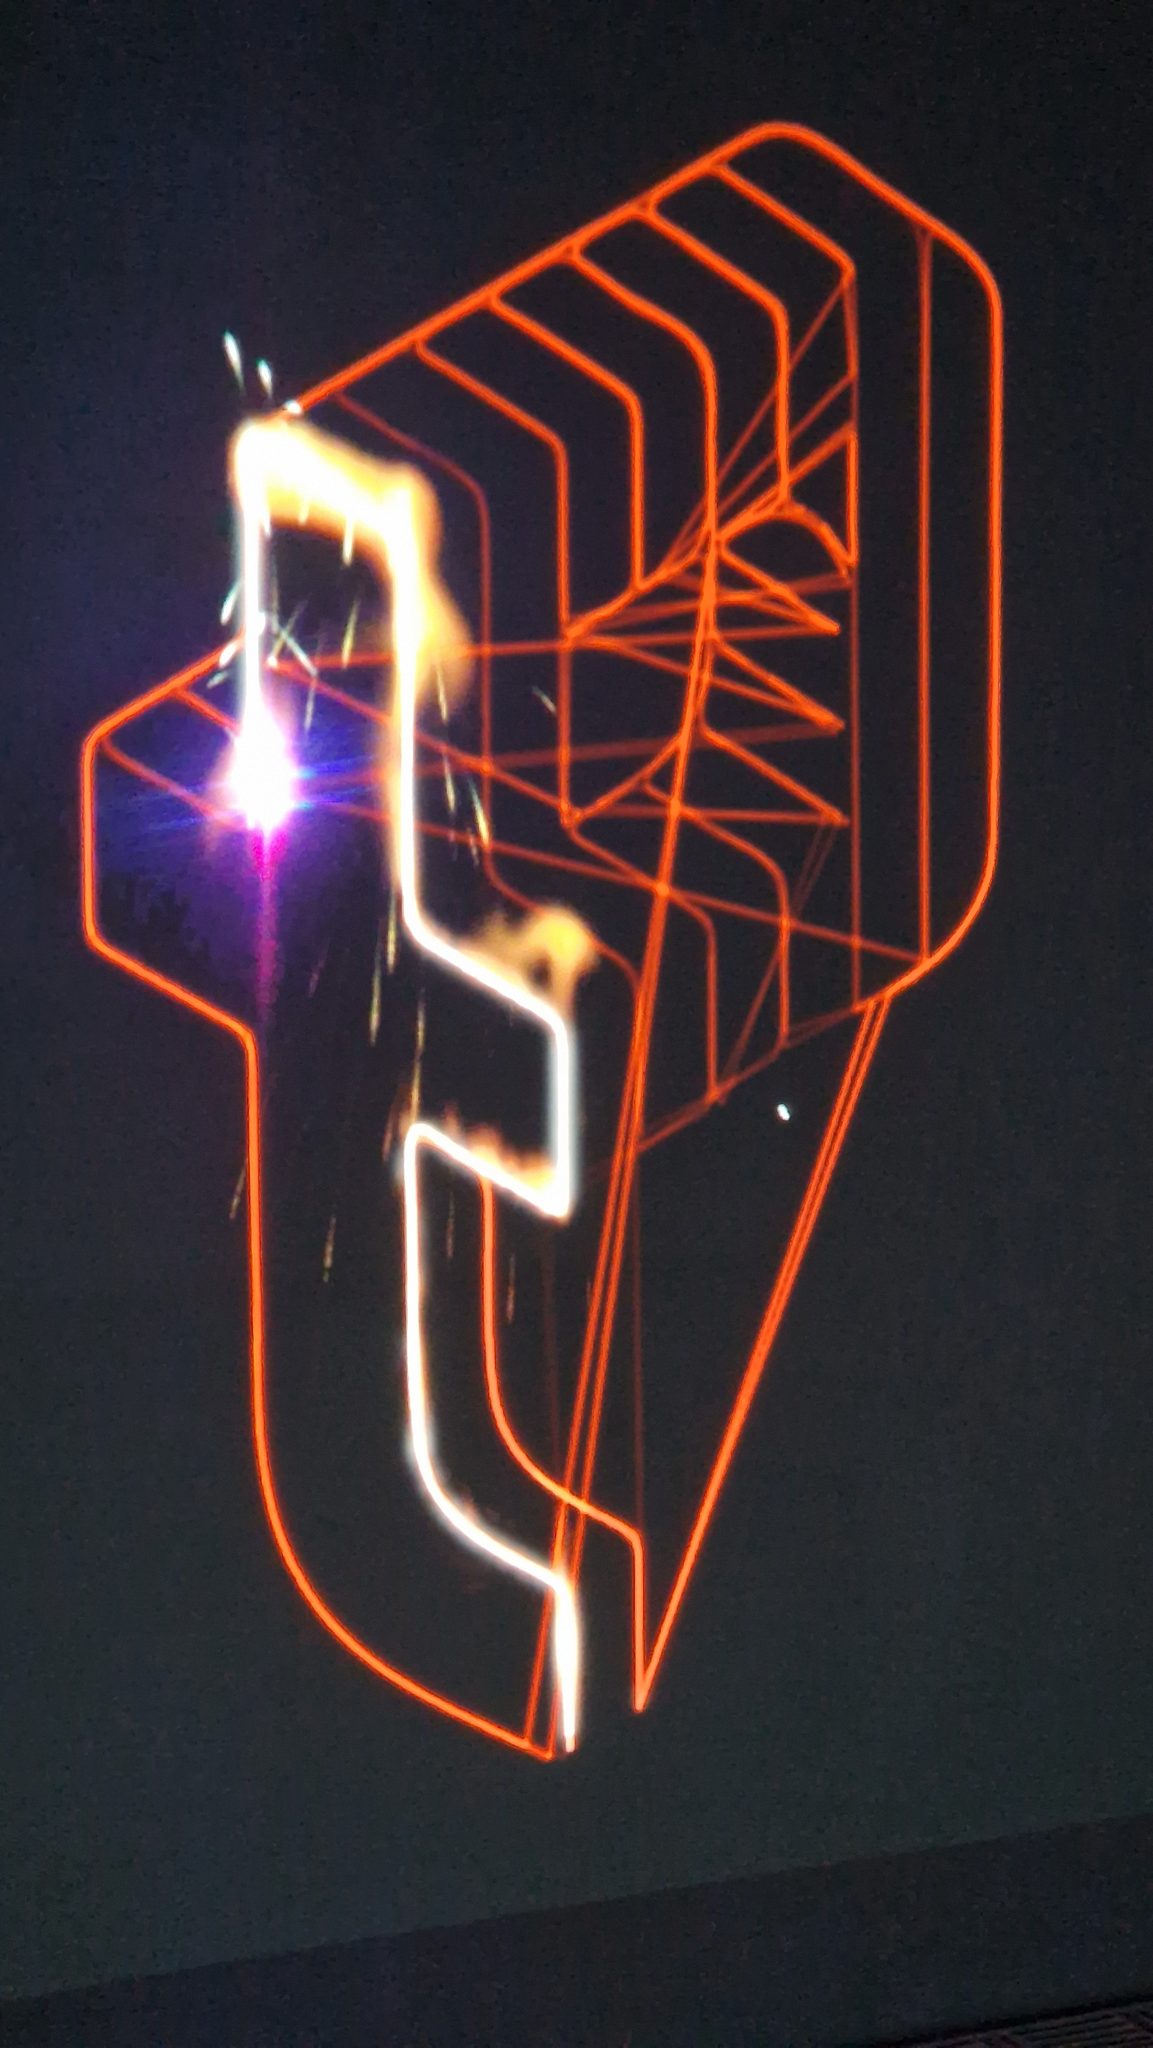
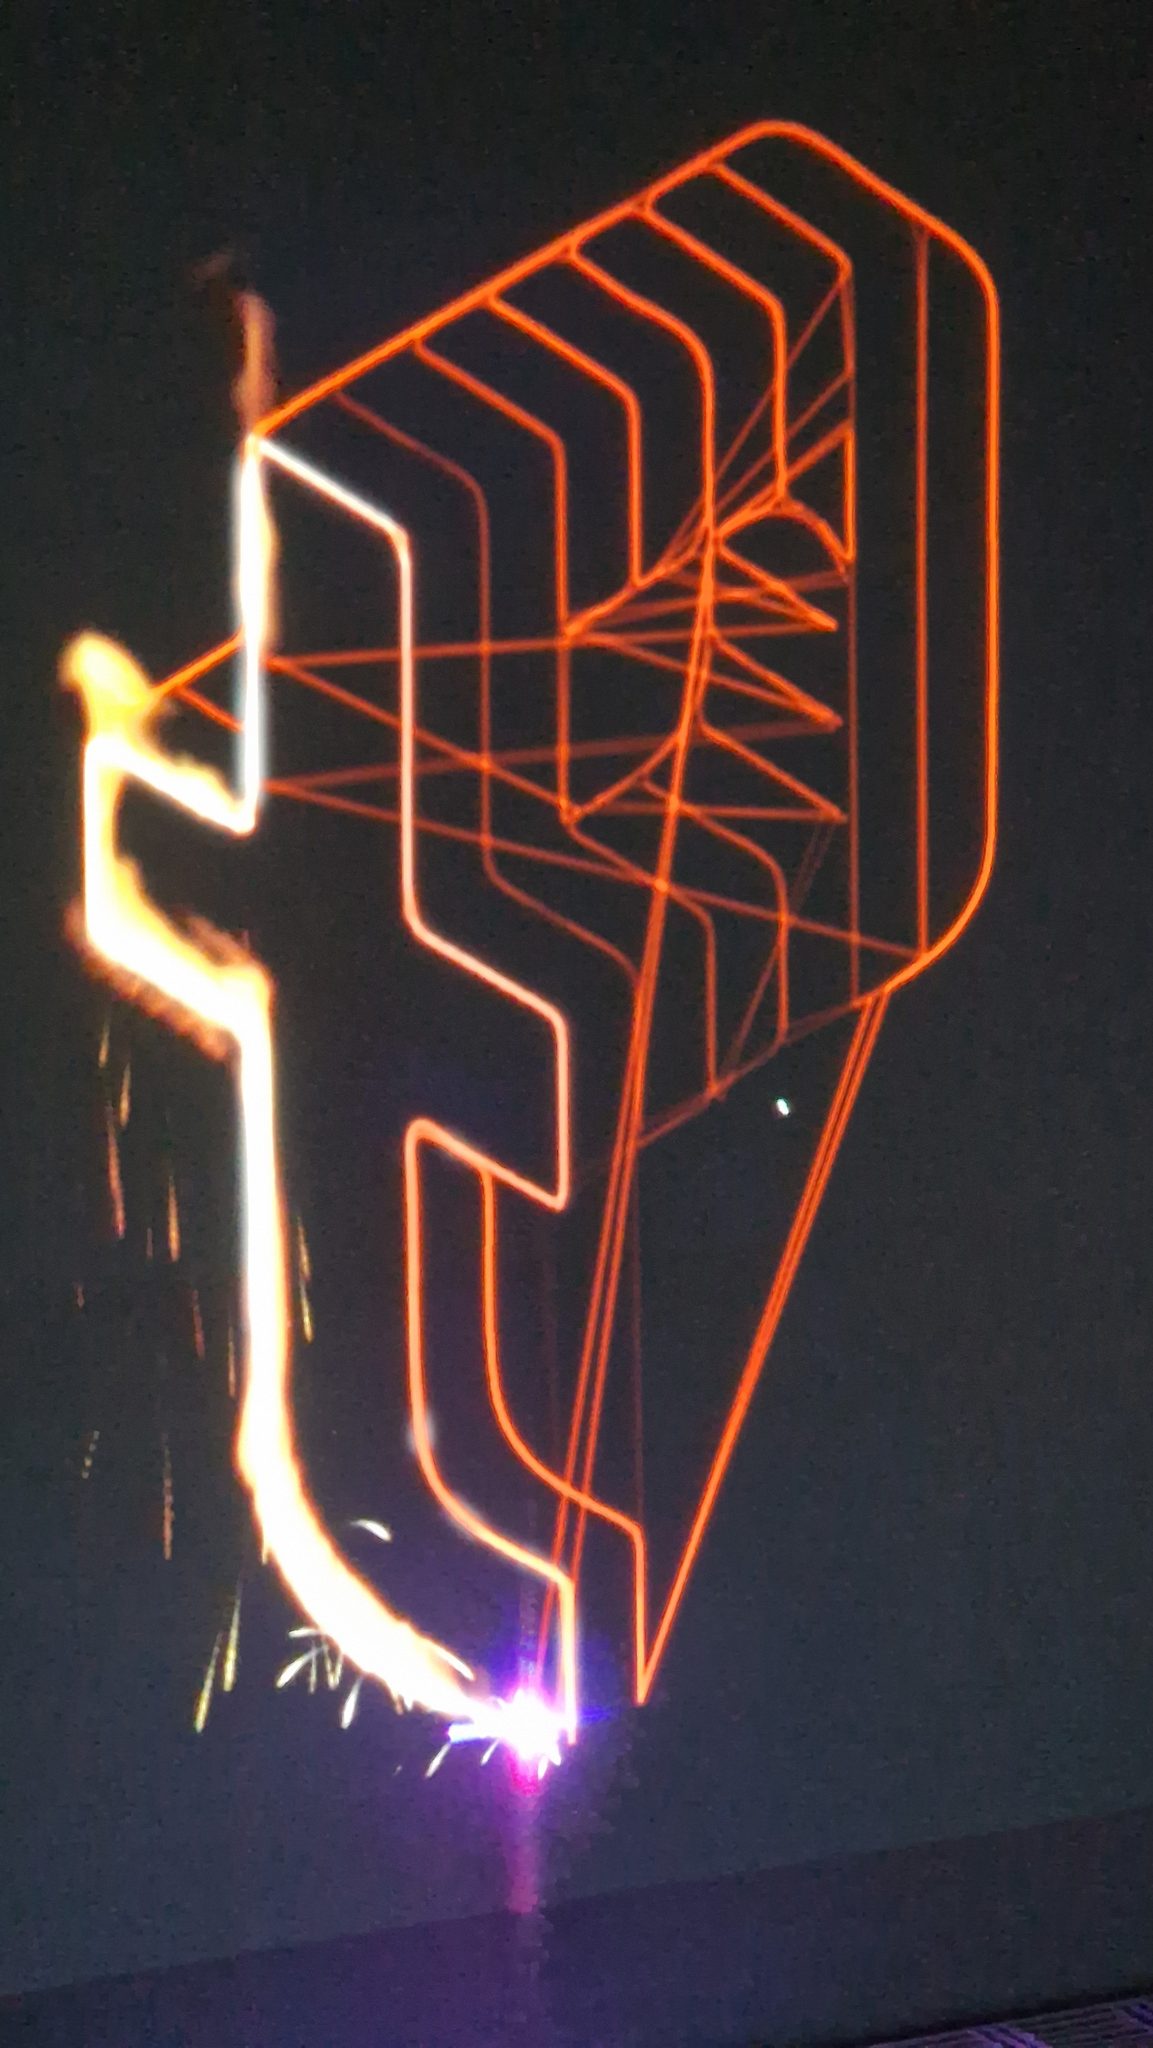
The idea was to fake a laser cutting/burning through metal. The super bright flickery dot of the laser, aligned with a projector displaying flames, sparks and a glowing melted edge where the laser had passed.
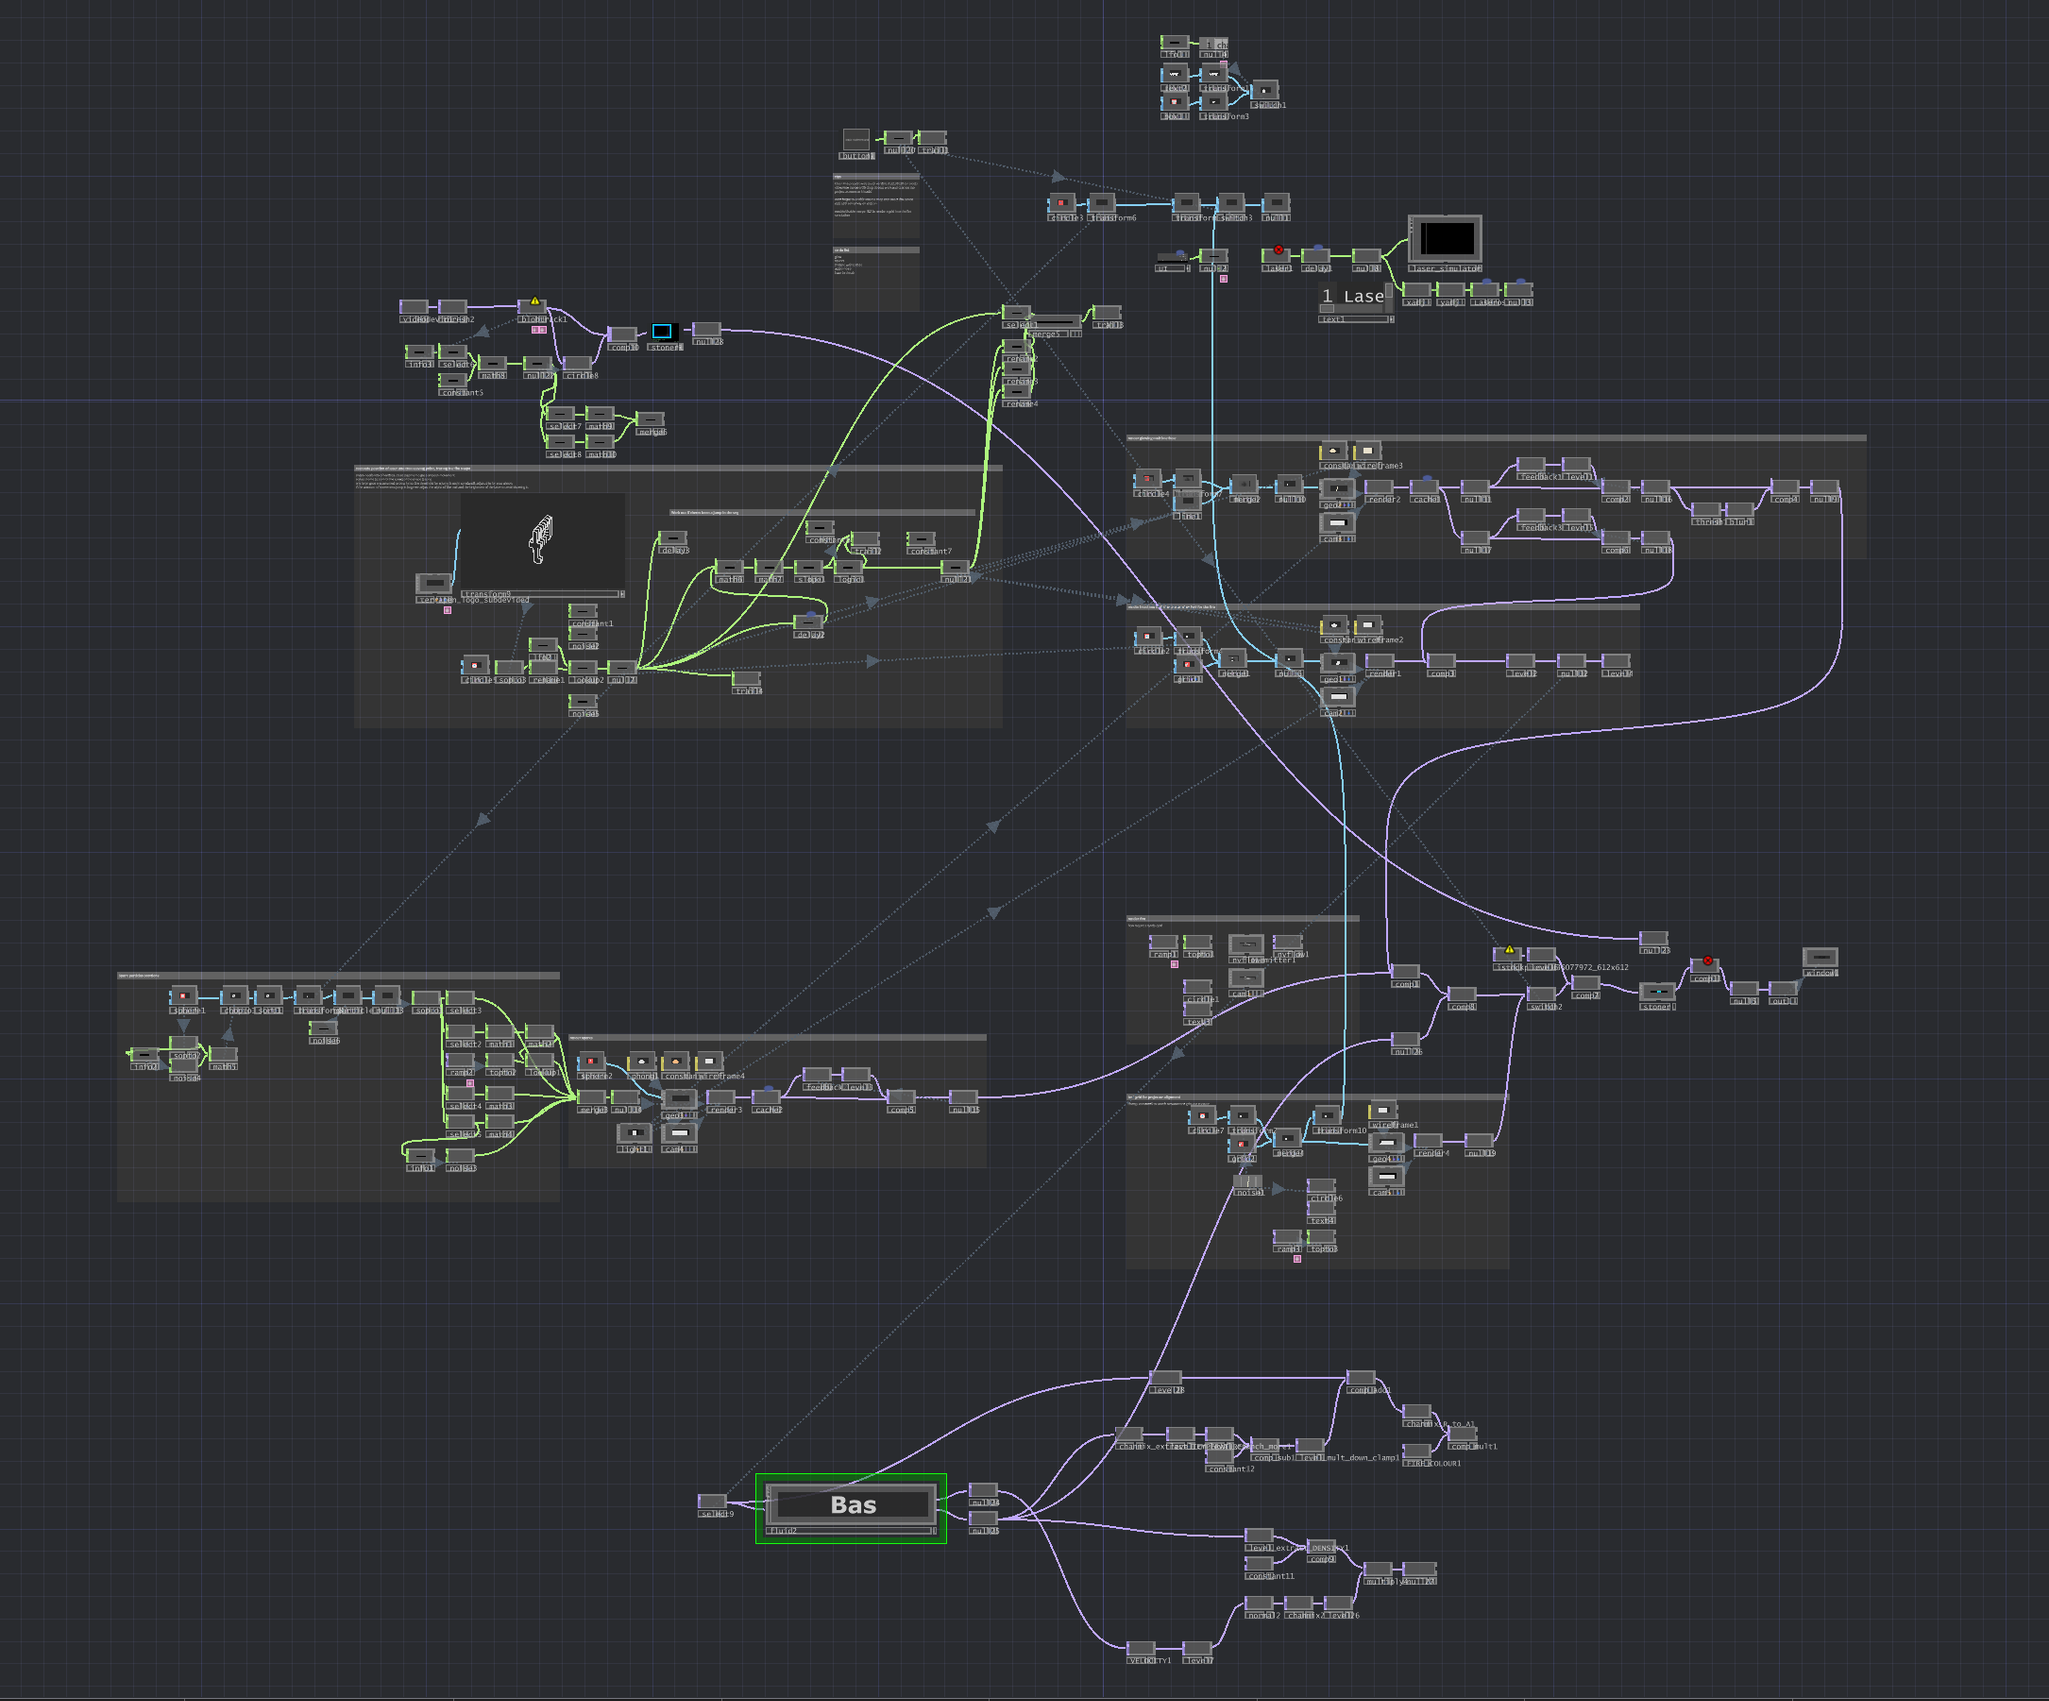
This sounded like a job for TouchDesigner! Luckily TD has a LaserCube example .tox file which included a node to send a chop to the device over USB which the laser would interpret as X,Y coordinates, brightness and colour.
The first step was to get the laser projection and the video projection aligned. Using the Stoner node to drag the 4 corners of a calibration image to match the laser dots.
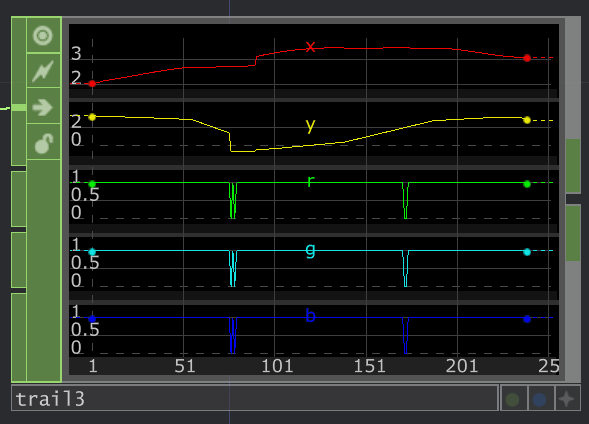
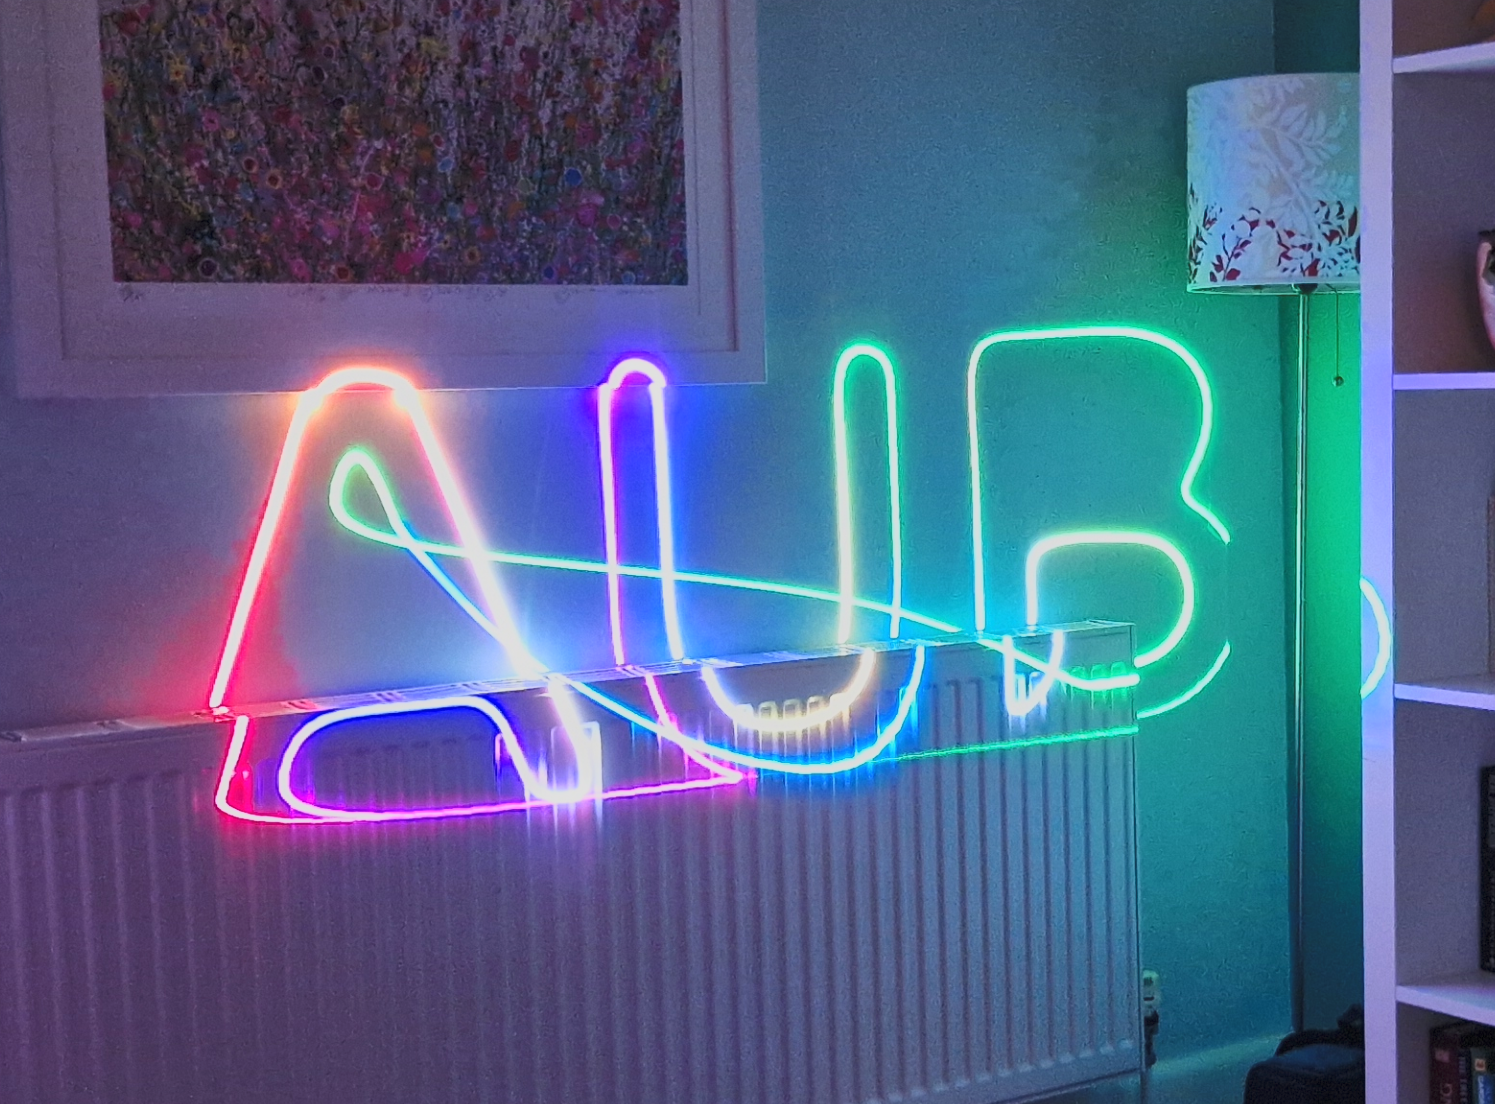
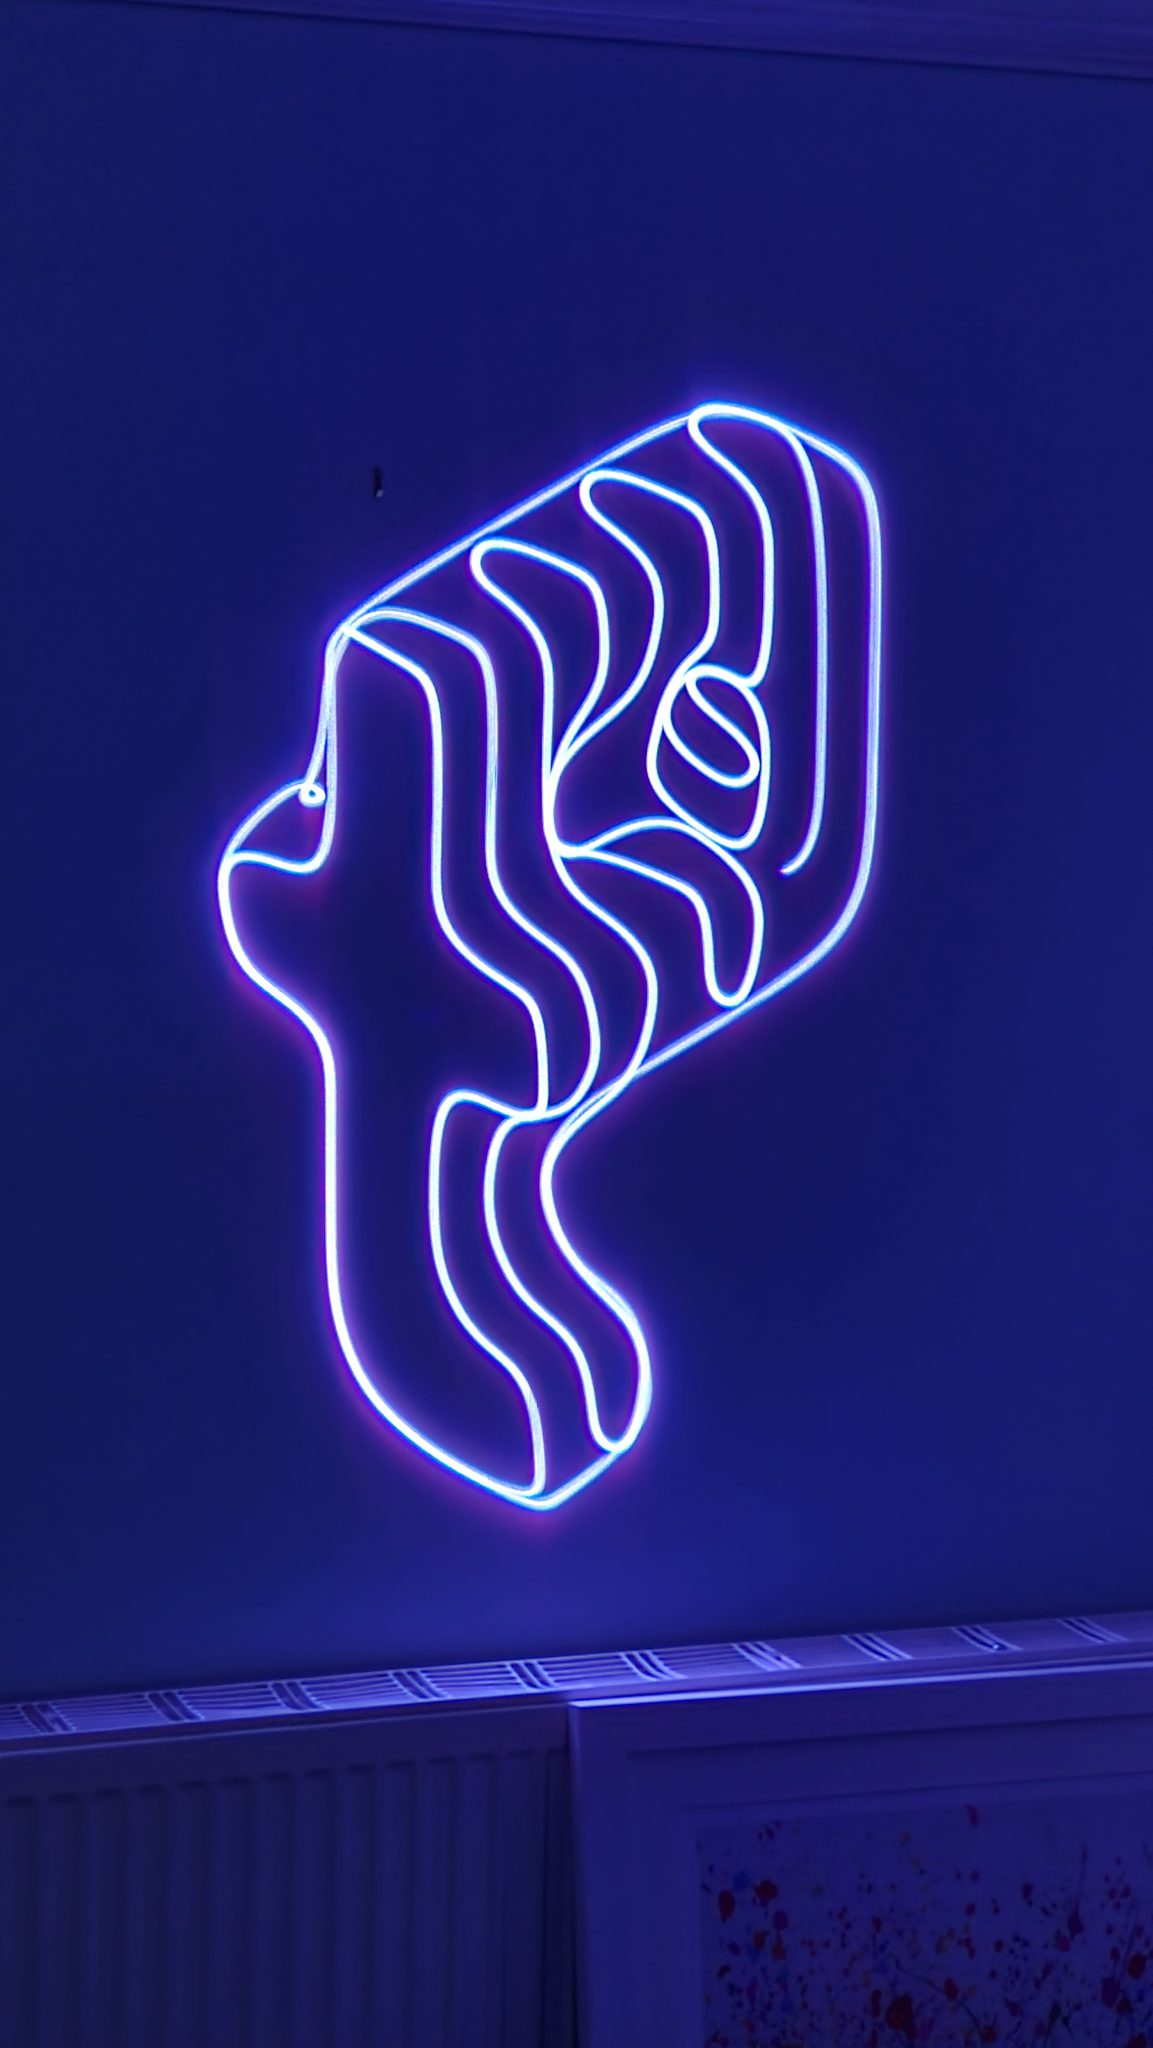
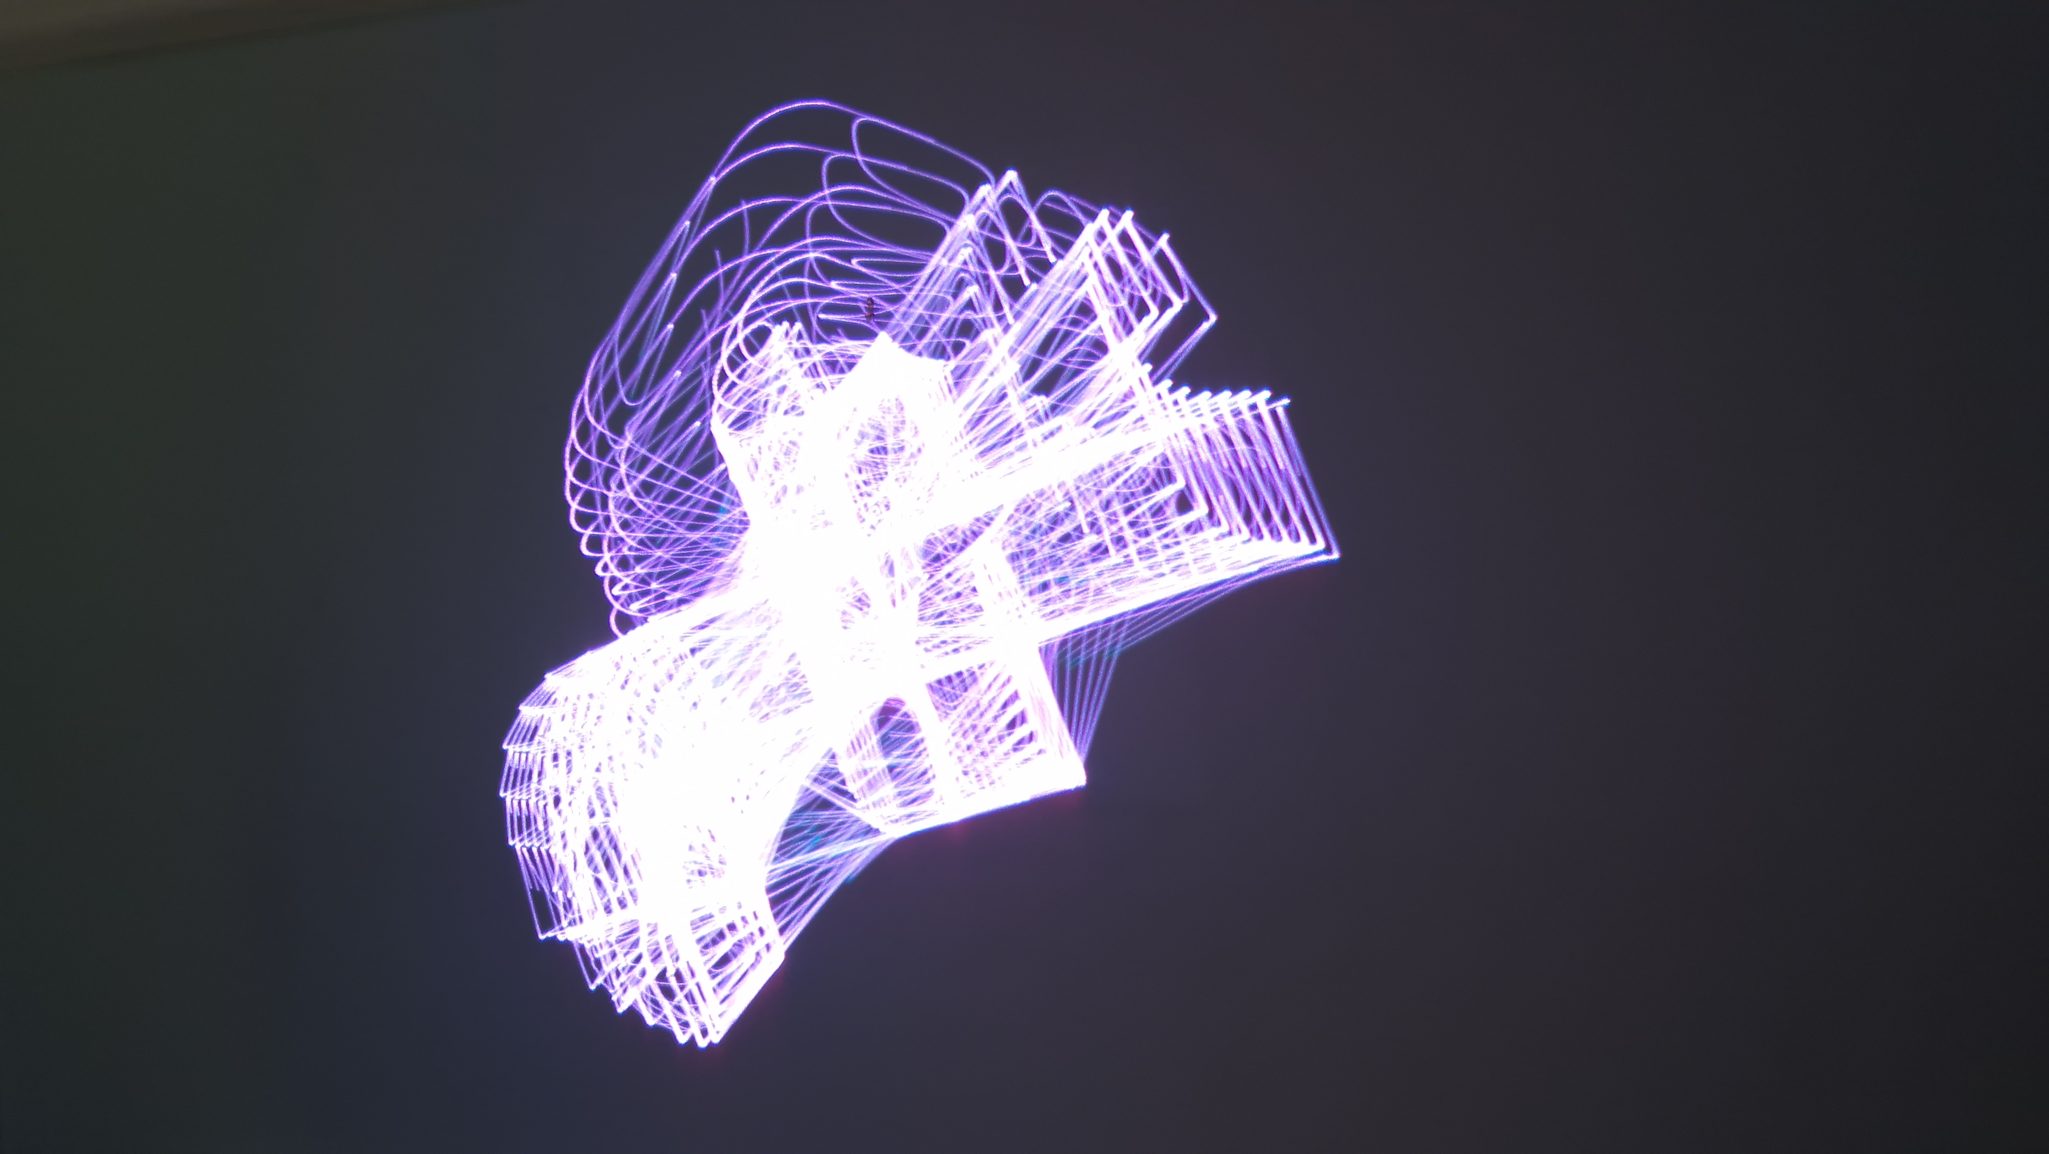
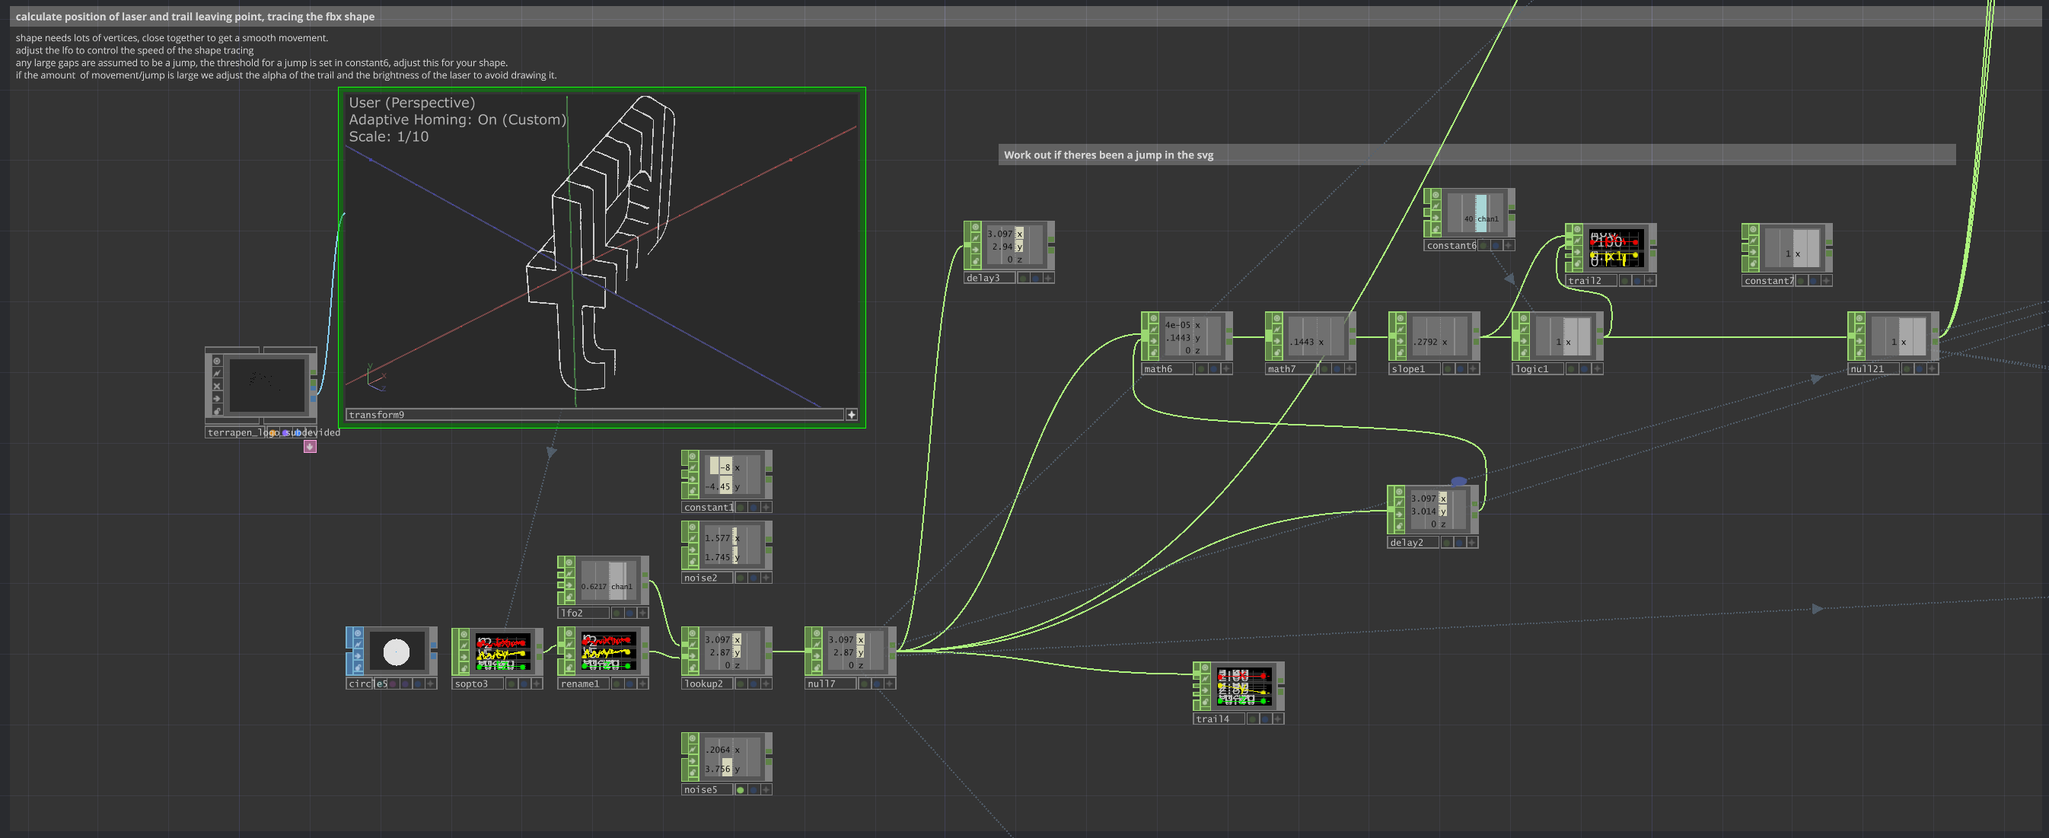
Next was to import and trace a shape. Using an SVG file for the point coordinates, breaking long lines down into sections. Eventually I was able to both draw the shape on screen and have the laser point traverse the same path. All sorts of fun along the way from how quickly lasers can scan to how quickly and accurately they can change direction and how to split the SVG up into evenly spaced points along a path.

Next was to find a decent fire effect. I tried a few different fluid simulation examples from the community. I got a nice Nvidia GPU version working but because I wanted this to be portable it needed to run off my laptop so I ended up using a generic GPU version which was almost as good. Tweaking the parameters to find the right balance between quality of fire effect and performance. Using the path and rendering a sphere and a trail and using that as the source for the fluid simulation worked great.

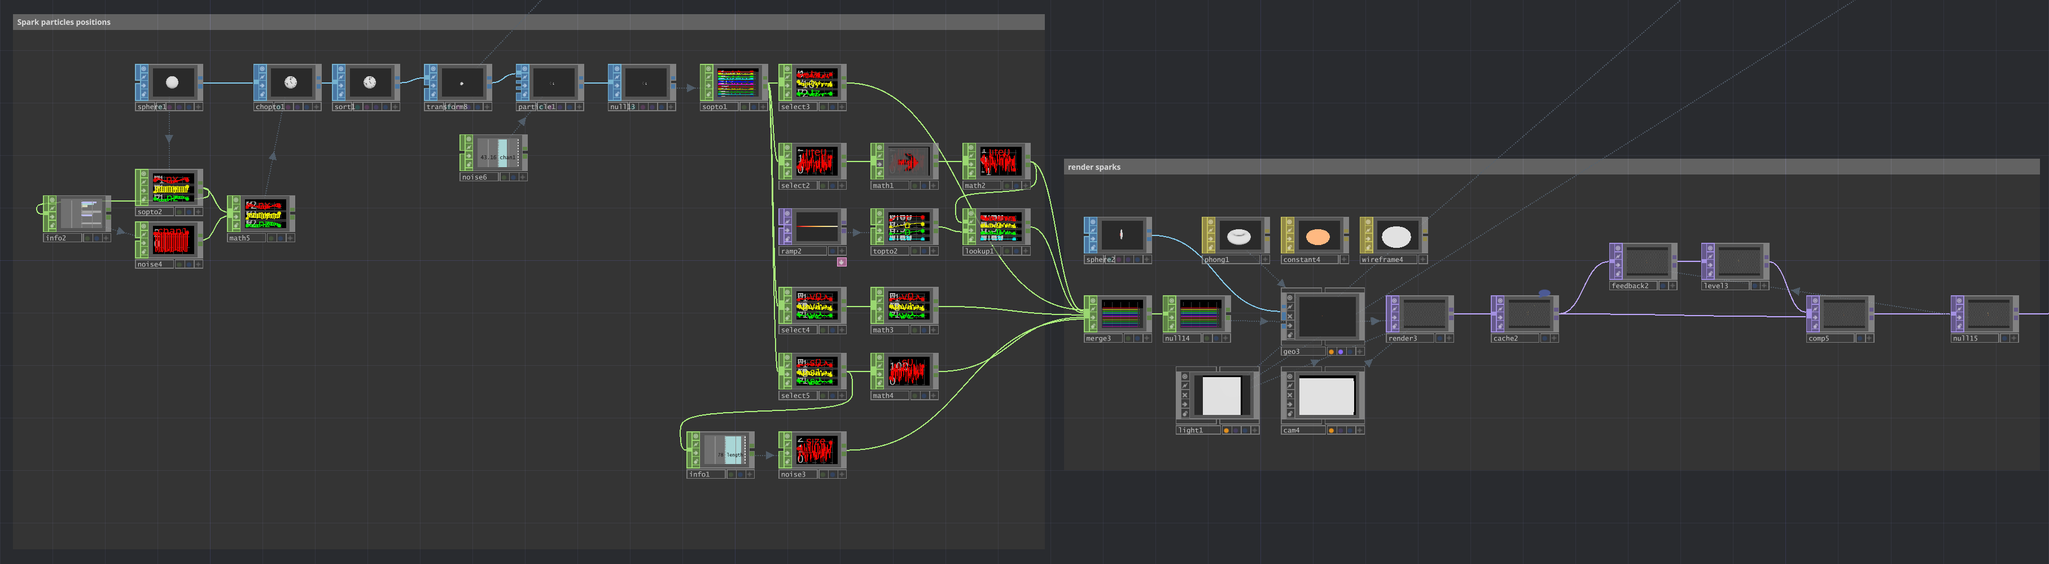
Next was to add some sparks, globs of molten material raining down from where the laser was burning through. I build a particle simulation from scratch with a feedback loop to add trails. Worked really well.
I added some trails which slowly faded away and some glow and the effects were done. I composited all the layers together, used a few frames delay on the laser point position to get the video and laser dots playback positions to look as close as possible.
Really happy with how this turned out. The combination of the super bright dot from the laser and the projected cutting effect with the ability to trace a vector path. Its uncanny watching it in real life, the video doesn’t do the brightness of the laser justice, it looks just like a laser is cutting through the wall.
As a little side project, I played around with tracking a laser pointer dot rather than using the LaserCube, so that you could “cut” the wall by hand. This involved using a camera to track the bright laser dot, calibrating the camera coordinates to match the fire projection. The green circle is projected around the tracked laser dot. Works really well. I used the same tracking technique for the Nike project.
TD’s node graph for this project