While tinkering around with a few friends at ‘Nerd Club ‘, we decided to each come up with a project using an ESP32 microcontroller. And so began many months of exploring what could be done with these little boards.

The first challenge was to get one powered up, connected to a few sensors and a screen. Luckily, Ed’s electronics were a few levels above mine, and he was able to wire one up on a breadboard.
Thanks to the magic of AI coding, I was able to get the LED to flash, shortly followed by a clone of the Windows screensaver bouncing lines. The dev environment uses VScode and flashes the ESP via the USB serial interface, gloriously retro!
The next challenge for the AI Copilot was a 2D fluid simulation, using the 6DOF sensor to control the orientation. This took a few more prompts, mostly me typing “make it faster”. These were some of my first forays into ‘vibe coding’, and I was genuinely blown away by how good it is. Still helps to know how to program so you can explain what you want to create and what to change when it doesn’t get it right.
While I was vibing, Ed was drawing a circuit board. Within a couple of weeks, we had one back, and I dusted off my soldering skills and attached all the components. After a bit of circuit debugging, we had it working and vibed ESP32TRIS as a test. Copilot wrote 95% of the game with just one prompt!
With my new skills I looked around for a solution in need of a problem and came up with the idea of building a simple (haha) home automation project to turn on a fan if a room got too hot. Sounds simple… but, nothings ever simple.
I spent many days researching the various standards for home automation. Matter vs Thread vs Zigbee vs Wi-Fi, as well as Google Home vs Home Assistant. In the end, I went for what I thought would be the simple option, using an ESP32 C6 dev board with a built-in screen, because I thought it might be useful (I should have got one with the pins pre soldered to had to solder them myself, very fiddly) and a KY-015 DHT11 Digital Temperature Sensor (should have got the newer and better DHT22).
I already had a mains-powered fan, so I thought I could get the ESP to talk to a Smart Plug over Wi-Fi and turn the fan on and off with the temperature, and this could all be set up in Google Home Automation. Without the need to run my own home automation server.
I’d found a web service called ESP Rainmaker which makes your own device appear as a sensor on a home automation network. There were some good examples of how to integrate it with ESP32’s so it seemed like a promising solution.
Then the problems started. Spent many days trying to find a ESP coding platform that supported the Rainmaker libraries. Tried various ones like Arduino IDE, and VScode with platform IO, In the end, I managed to get their examples building and running with VScode and ESP-IDF. It was a complicated process of building the code, flashing the ESP, pushing the output on the serial monitor to get a QR code, scanning this with the Rainmaker app on my phone to register the device, adding the new device to Google Home and building a temperature-sensing automation to control the Smart Plug.
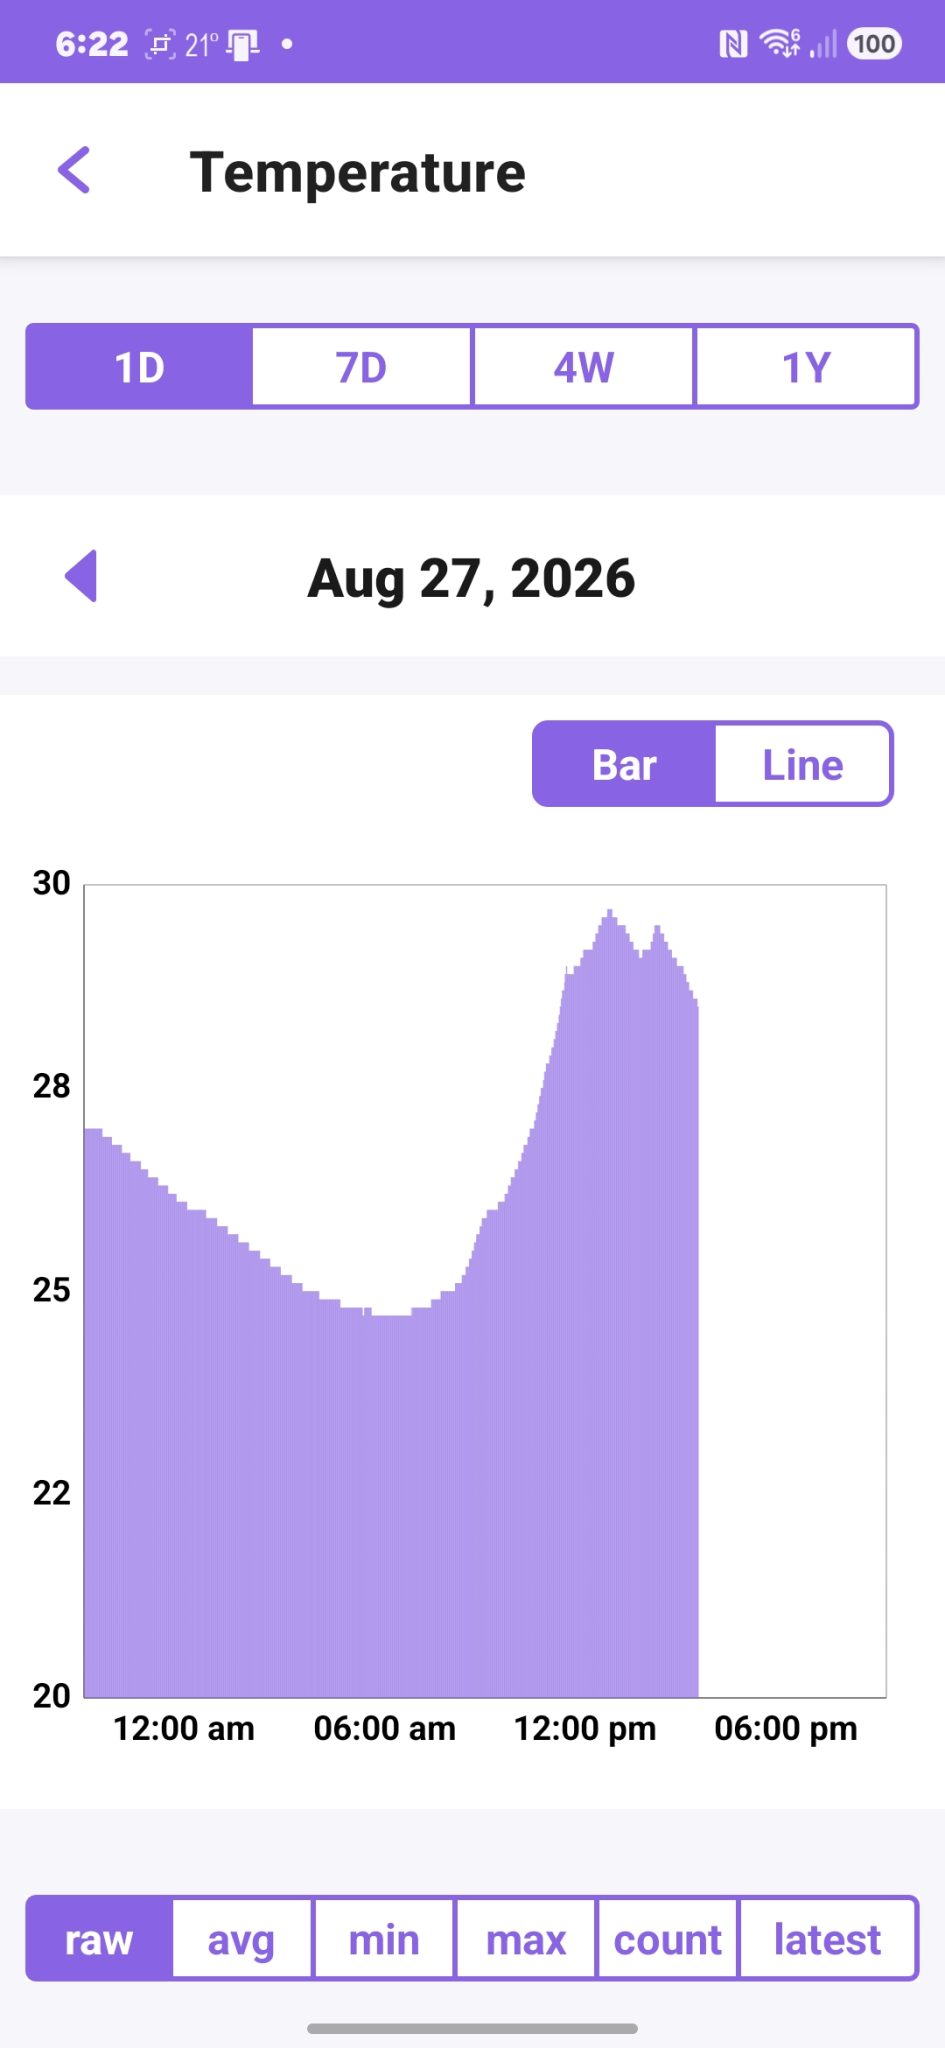
It took a long time to realise that Rainmaker’s example Temp sensor wouldn’t connect to Google Home, but their Light example would. So I simply output the temperature as the light brightness, and voila it worked!!! As the temperature goes over 28℃, the fan turns on to bring it down.
Could have just bought a temp-sensing fan, but where would be the fun in that!