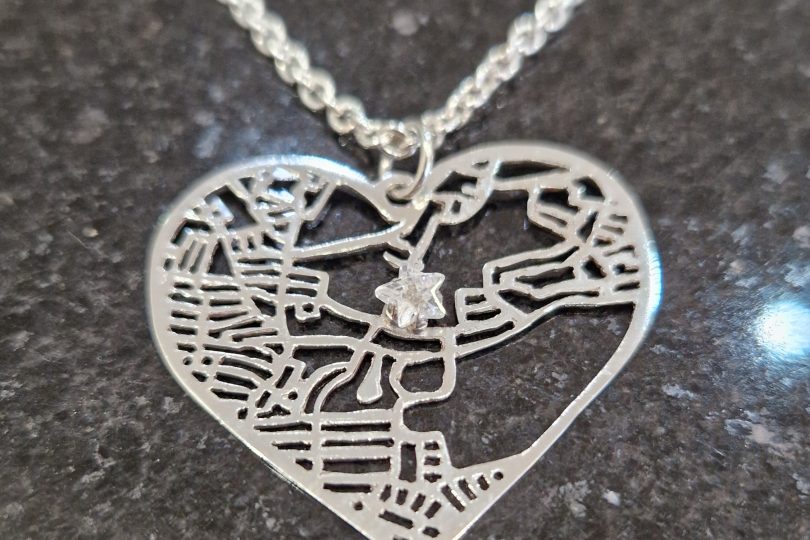
Inspired by seeing similar map pendants online, I decided to have a go at making one myself.
After thinking about laser cutting the silver and quickly realising that my Snapmaker 1w laser engraver wouldn’t dent silver metal, I pivoted to CNC milling the map design into the silver.
I decided to base the map’s location on our home and after downloading a map in vector format, I used Inkscape to tidy up the map, removing excessive details, cropping it to a heart shape and generating the tool path.

Because the overall pendant needed to be quite small and the map was so detailed, I worked out that the cutout line would be about 0.2mm wide. Finding a metal milling bit this thin was difficult and they kept snapping as they tried to move sideways and mill out the silver.
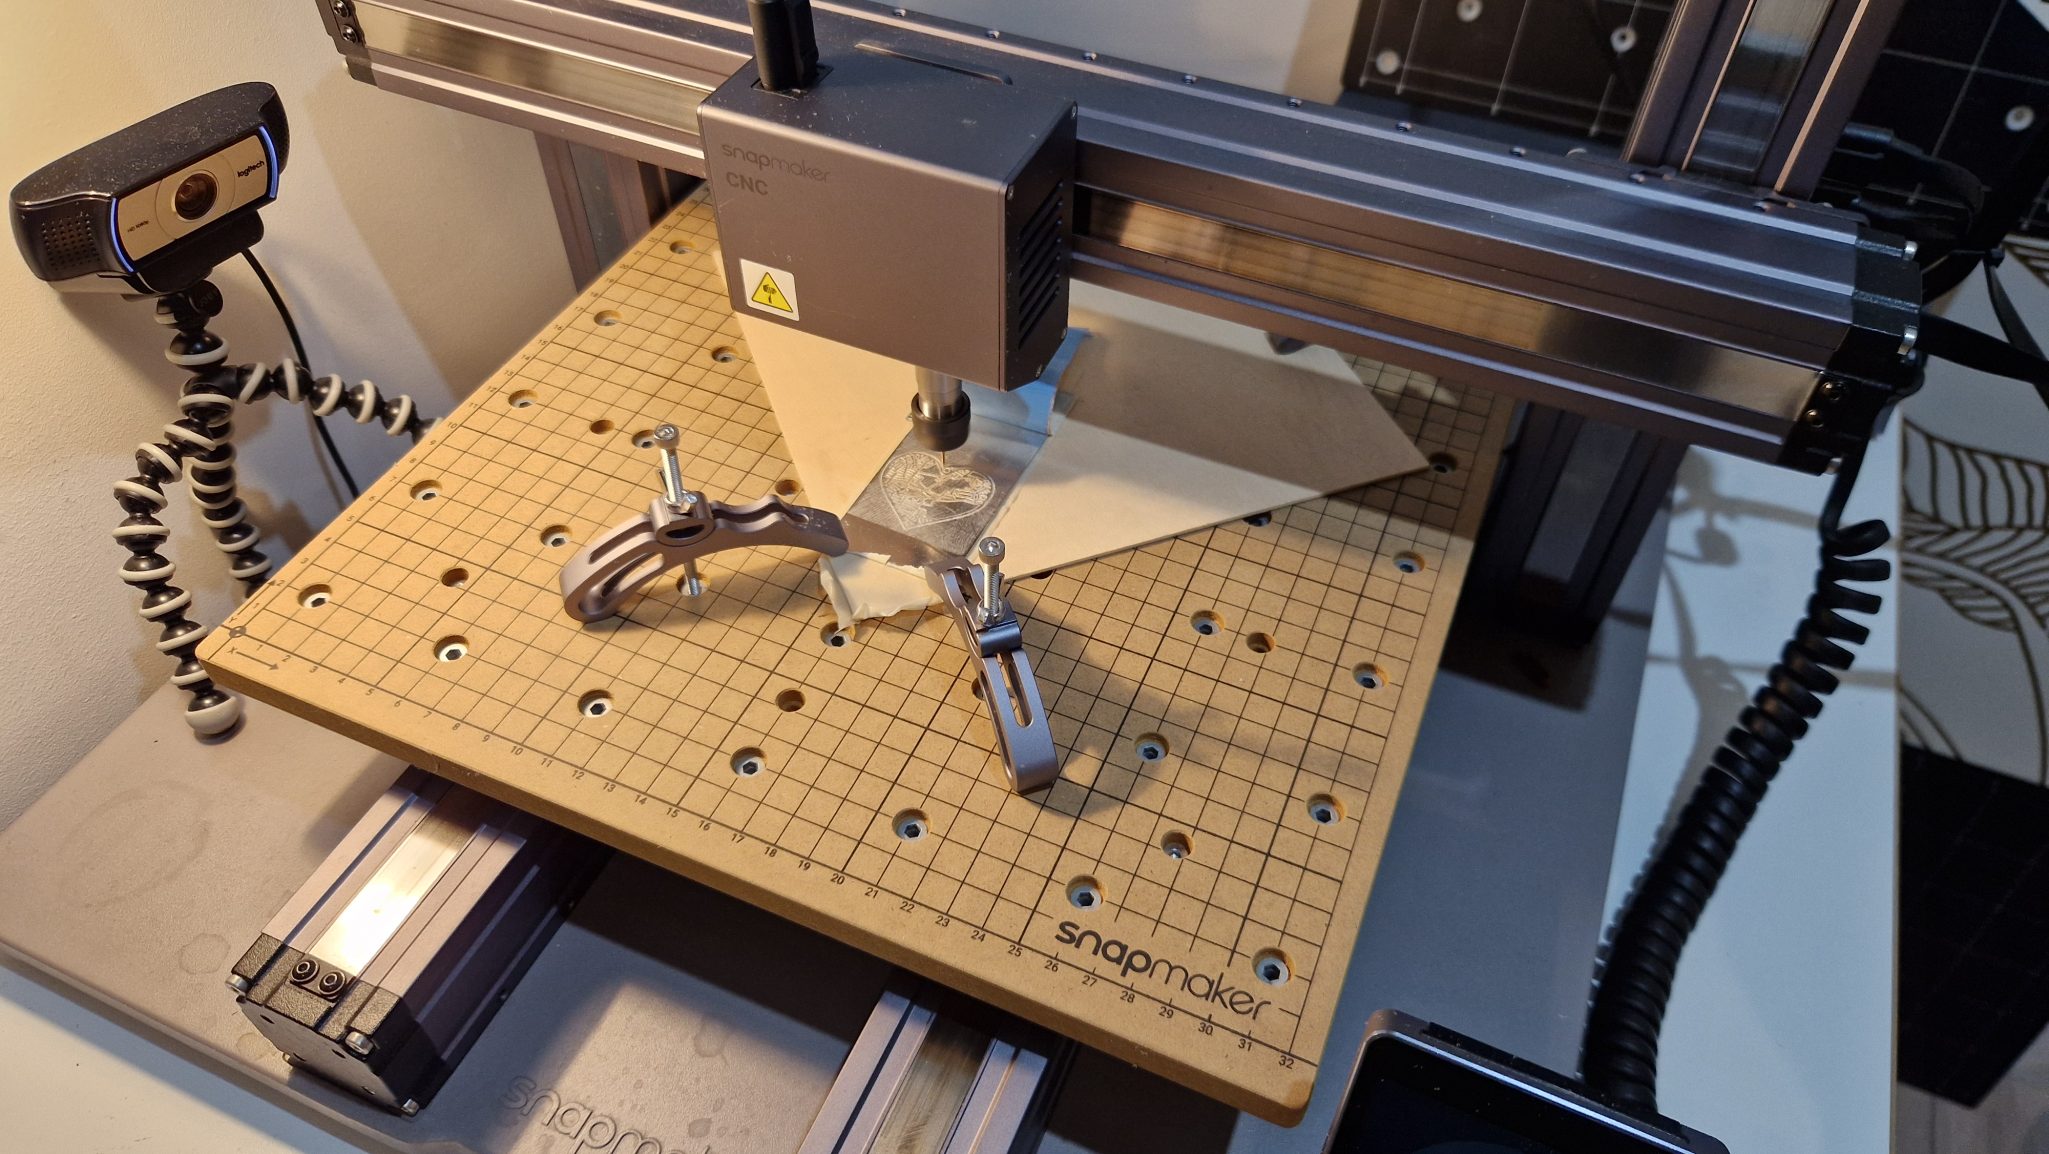
After lots of trial and error, I discovered that the snapped router bits were actually ideal as the small amount of tool left after the majority had snapped off meant it was strong enough to cut sideways without snapping again. I set the tool path to very gradually cut down through the 0.5mm silver sheet, going just 0.05mm at a time, meaning 10 rounds of cutting out the design should have gone right through the sheet.
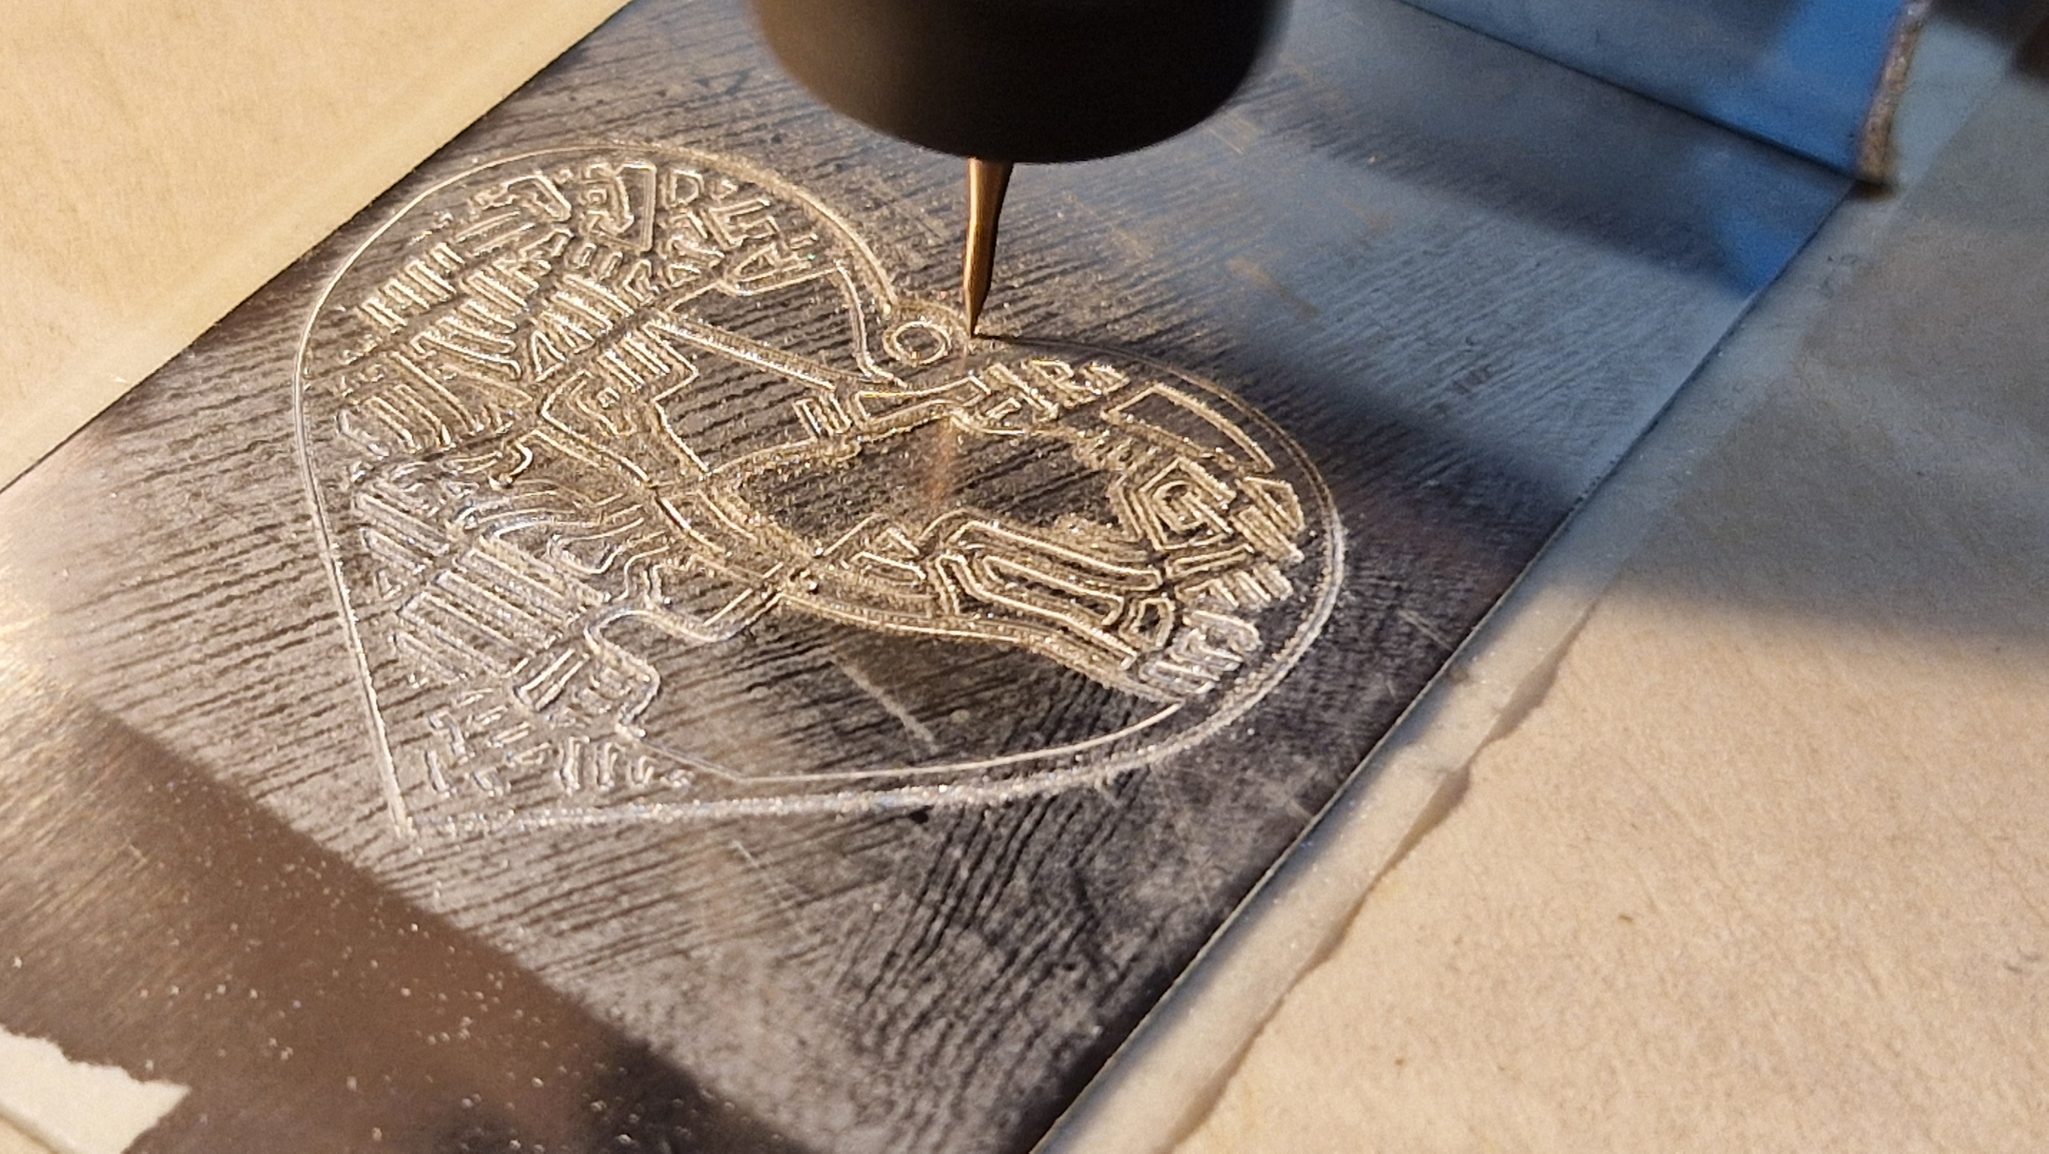
So much for theory, as the design was cut out, the silver sheet weakened and eventually distorted under the sideways cutting pressure of the router. Luckily, by this tim,e most of the design had been half cut and traced onto the silver. After some pondering of the options and not wanting to give up, I decided to hand cut the rest of the map out using a jeweller’s saw. Each block in the pay had to be first drilled, then the saw blade threadded through and painstakingly cut out. There were about 100 blocks and roads to cut out by hand!!!
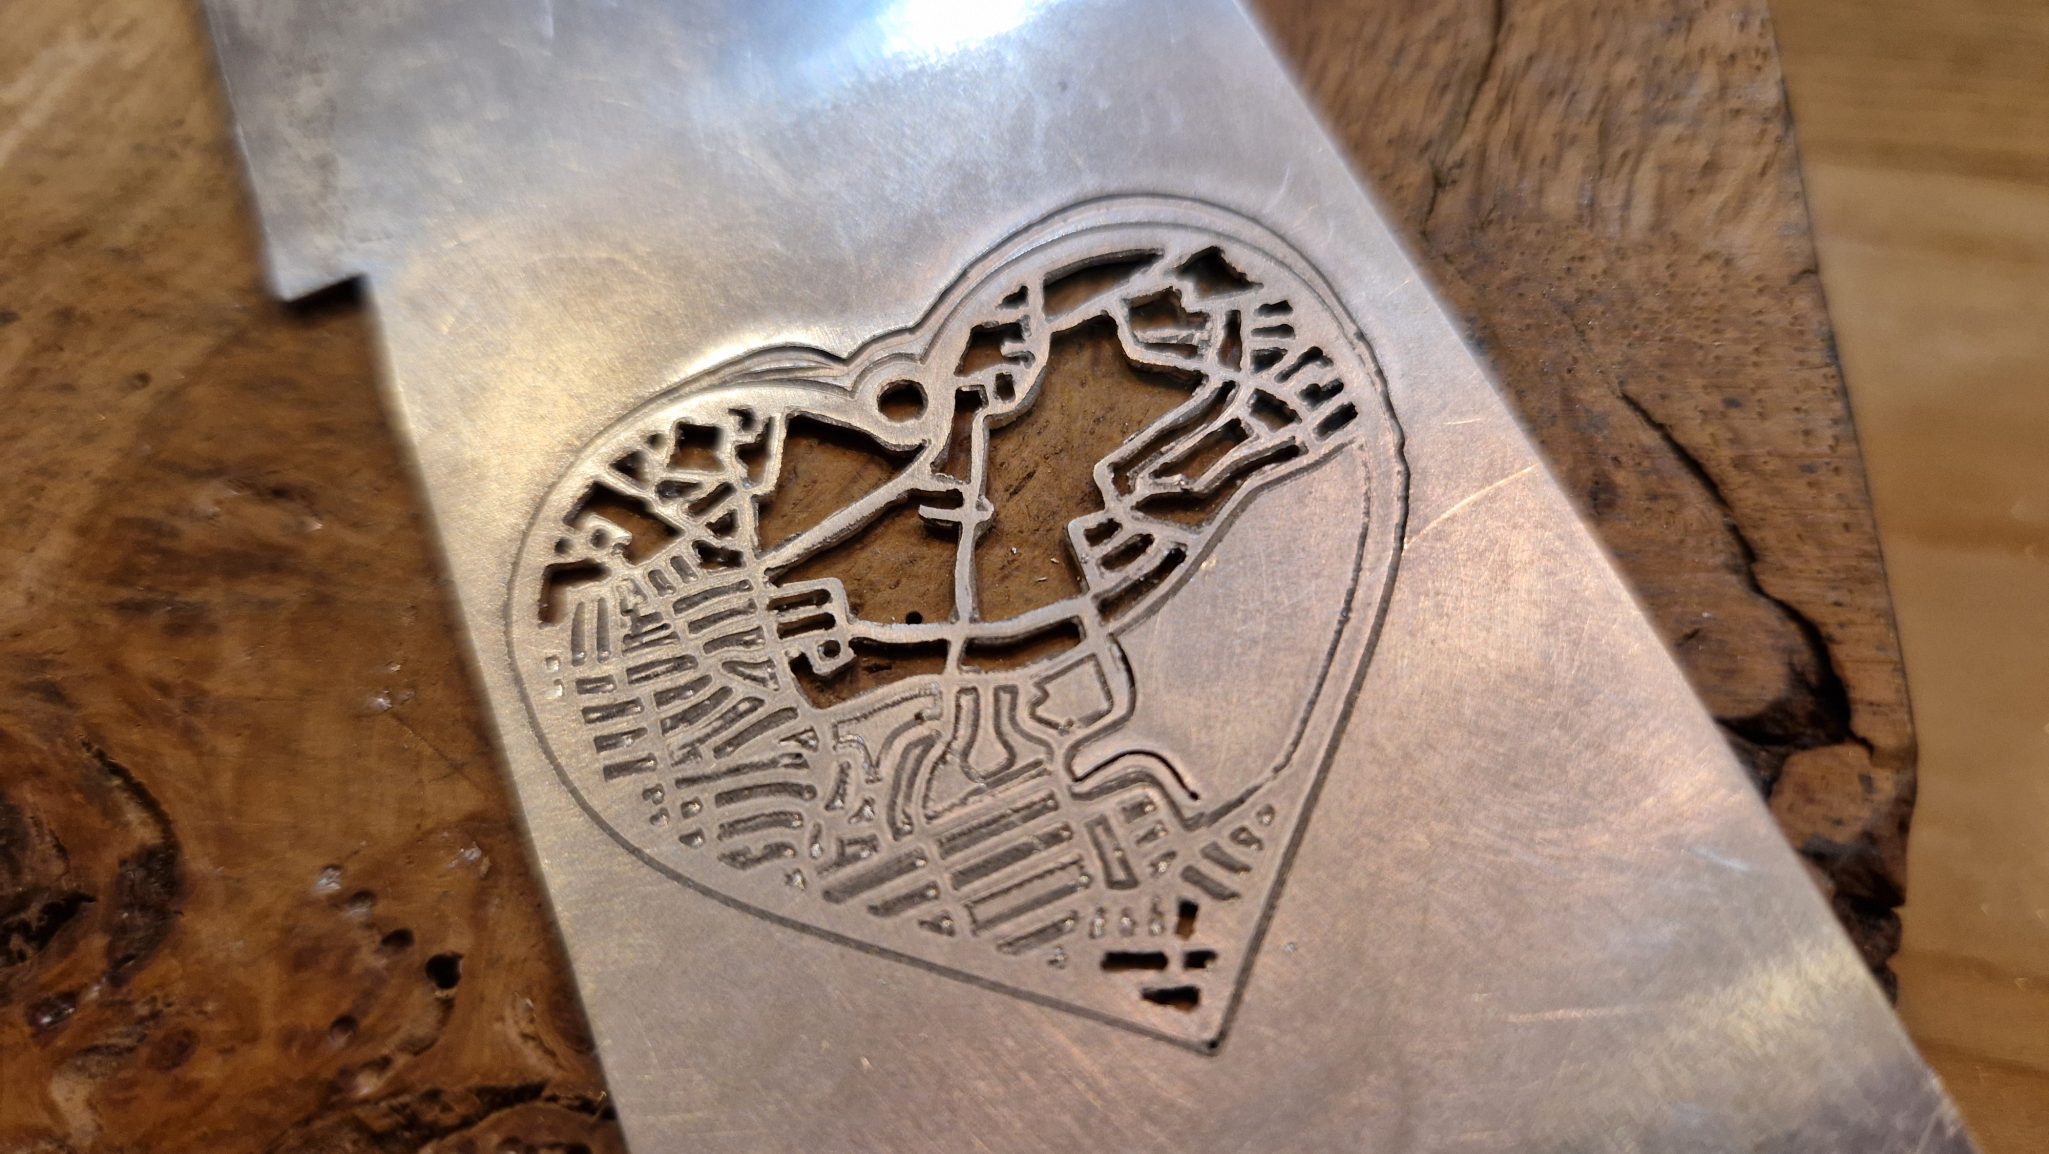
Eventually, they were all done and the design was finished off by setting a tiny zarcon star stone in the centre at our home location.

The pendant was a Christmas present for Julie and has proved a very popular piece of jewellery.
