I was lucky enough to get a telescope for Christmas last year and since then I’ve been on a steep learning curve to try and take some photos with it.
Turns out there’s a lot more to taking a decent photo of things up there than you’d think. There are lots of different types of things to photograph, planets, deep sky objects (nebulae, galaxies), the Sun, etc. Each of which needs its own technique and specialist kit. My telescope a Celestron 8SE is a popular all-rounder and is a good starting point for learning this stuff.
rig photo
The first challenge was learning how to use the telescope, the key part is the alignment phase where the telescope works out what angle it’s at so that it can track the rotation of the Earth and cancel out the movement of the sky. This was a right faff, and it took half an hour each time I wanted to use the scope. So the next purchase was a Starsense Autoguider, a camera, a lens and some clever software that takes 4 pictures of the sky and works out the orientation of the telescope. This was a great add-on and reliably aligns the scope in just a few minutes!
Next was attaching a camera to the telescope. I started off using a 10-year-old Canon 1200D, which I had lying around. It worked but was a bit old, slow and noisy compared to modern cameras. I upgraded to a Nikon Z6II which was loaned to me by my mother (who’s much more into photography than I am). This was much faster and had a lower sensor noise (which turns out to be very important). Attaching the camera to the telescope via a ‘T’ Ring adaptor which I was able to download a CAD model, tweak and 3D print.
Learning by trial and error is a great way to really understand what you’re doing, and over many nights I worked out I needed a dew shield to stop the lens fogging up. But that wasn’t enough so I added a dew heater ring to warm the lens and stop dew forming.
Next was a beefy battery pack to power the scope, camera, dew heater and laptop (my current battery runs out after about 3 hours so might need an upgrade). I 3d printed a Bahtinov mask which is used for precise focusing. Purchased a tracing pad which doubles as a low-cost flat panel with a 3D-printed mounting adaptor that holds it to the front of the scope.
With the kit working well, the other half of the story is software and processing. Most deep sky photography requires taking hundreds of photos of very faint objects, aligning, stacking and stretching the images. Luckily, there’s lots of great software out there to do this and after trying several, I settled on a workflow that works for my setup.
Clearoutside – Weather forecast site to predict which nights will be clear
Stellarium – Open source planetarium, to plan what’s in view and what to try to photograph, and generally learn the layout of the night sky.
CPWI – Celestrons own software to align and aim the telescope at a target. It would be nice if this could be dropped in favour of using Stellarium to “goto” a target but I just can’t get it to talk to the scope mount.
APT – Astrophotography Tool, which works with my Nikon camera, has a live view for focusing and various batch photo capture modes to take hundreds of photos.
SharpCap – Live stacking is used to preview the images from ATP. Unfortunately, I couldn’t get it to communicate with the Nikon camera reliably so have to use ATP to do the capturing.
Siril – For alignment, stacking and stretching, these turn the hundreds of photos (that look just black) into a viewable image.
Taking photos of planets is a slightly different workflow and my Nikon isn’t the ideal camera but I’m still trying. Using PIPP to crop and centre the thousands of images and Astrosurface to align, stack, sharpen and stretch.
After many hours learning to use all the above I’m managing to get some photos that at least resemble what you’d find if you googled the various objects. It still feels like I’m only just off the foothills of the learning curve.
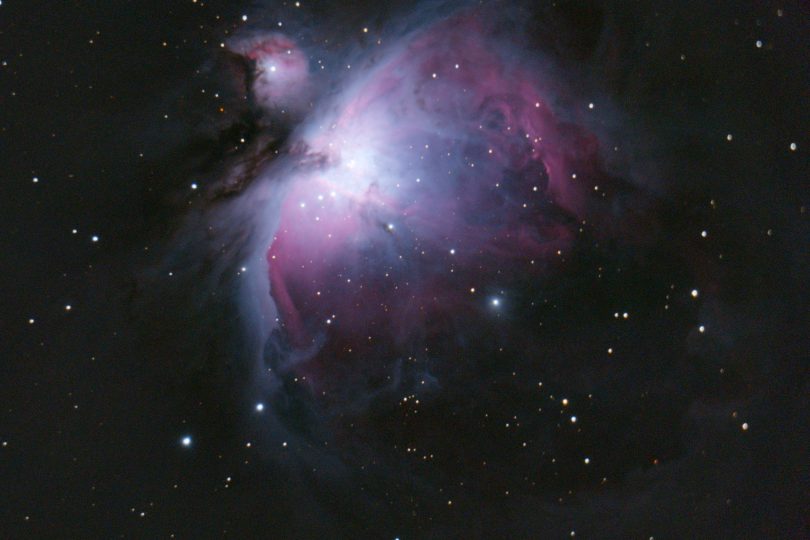
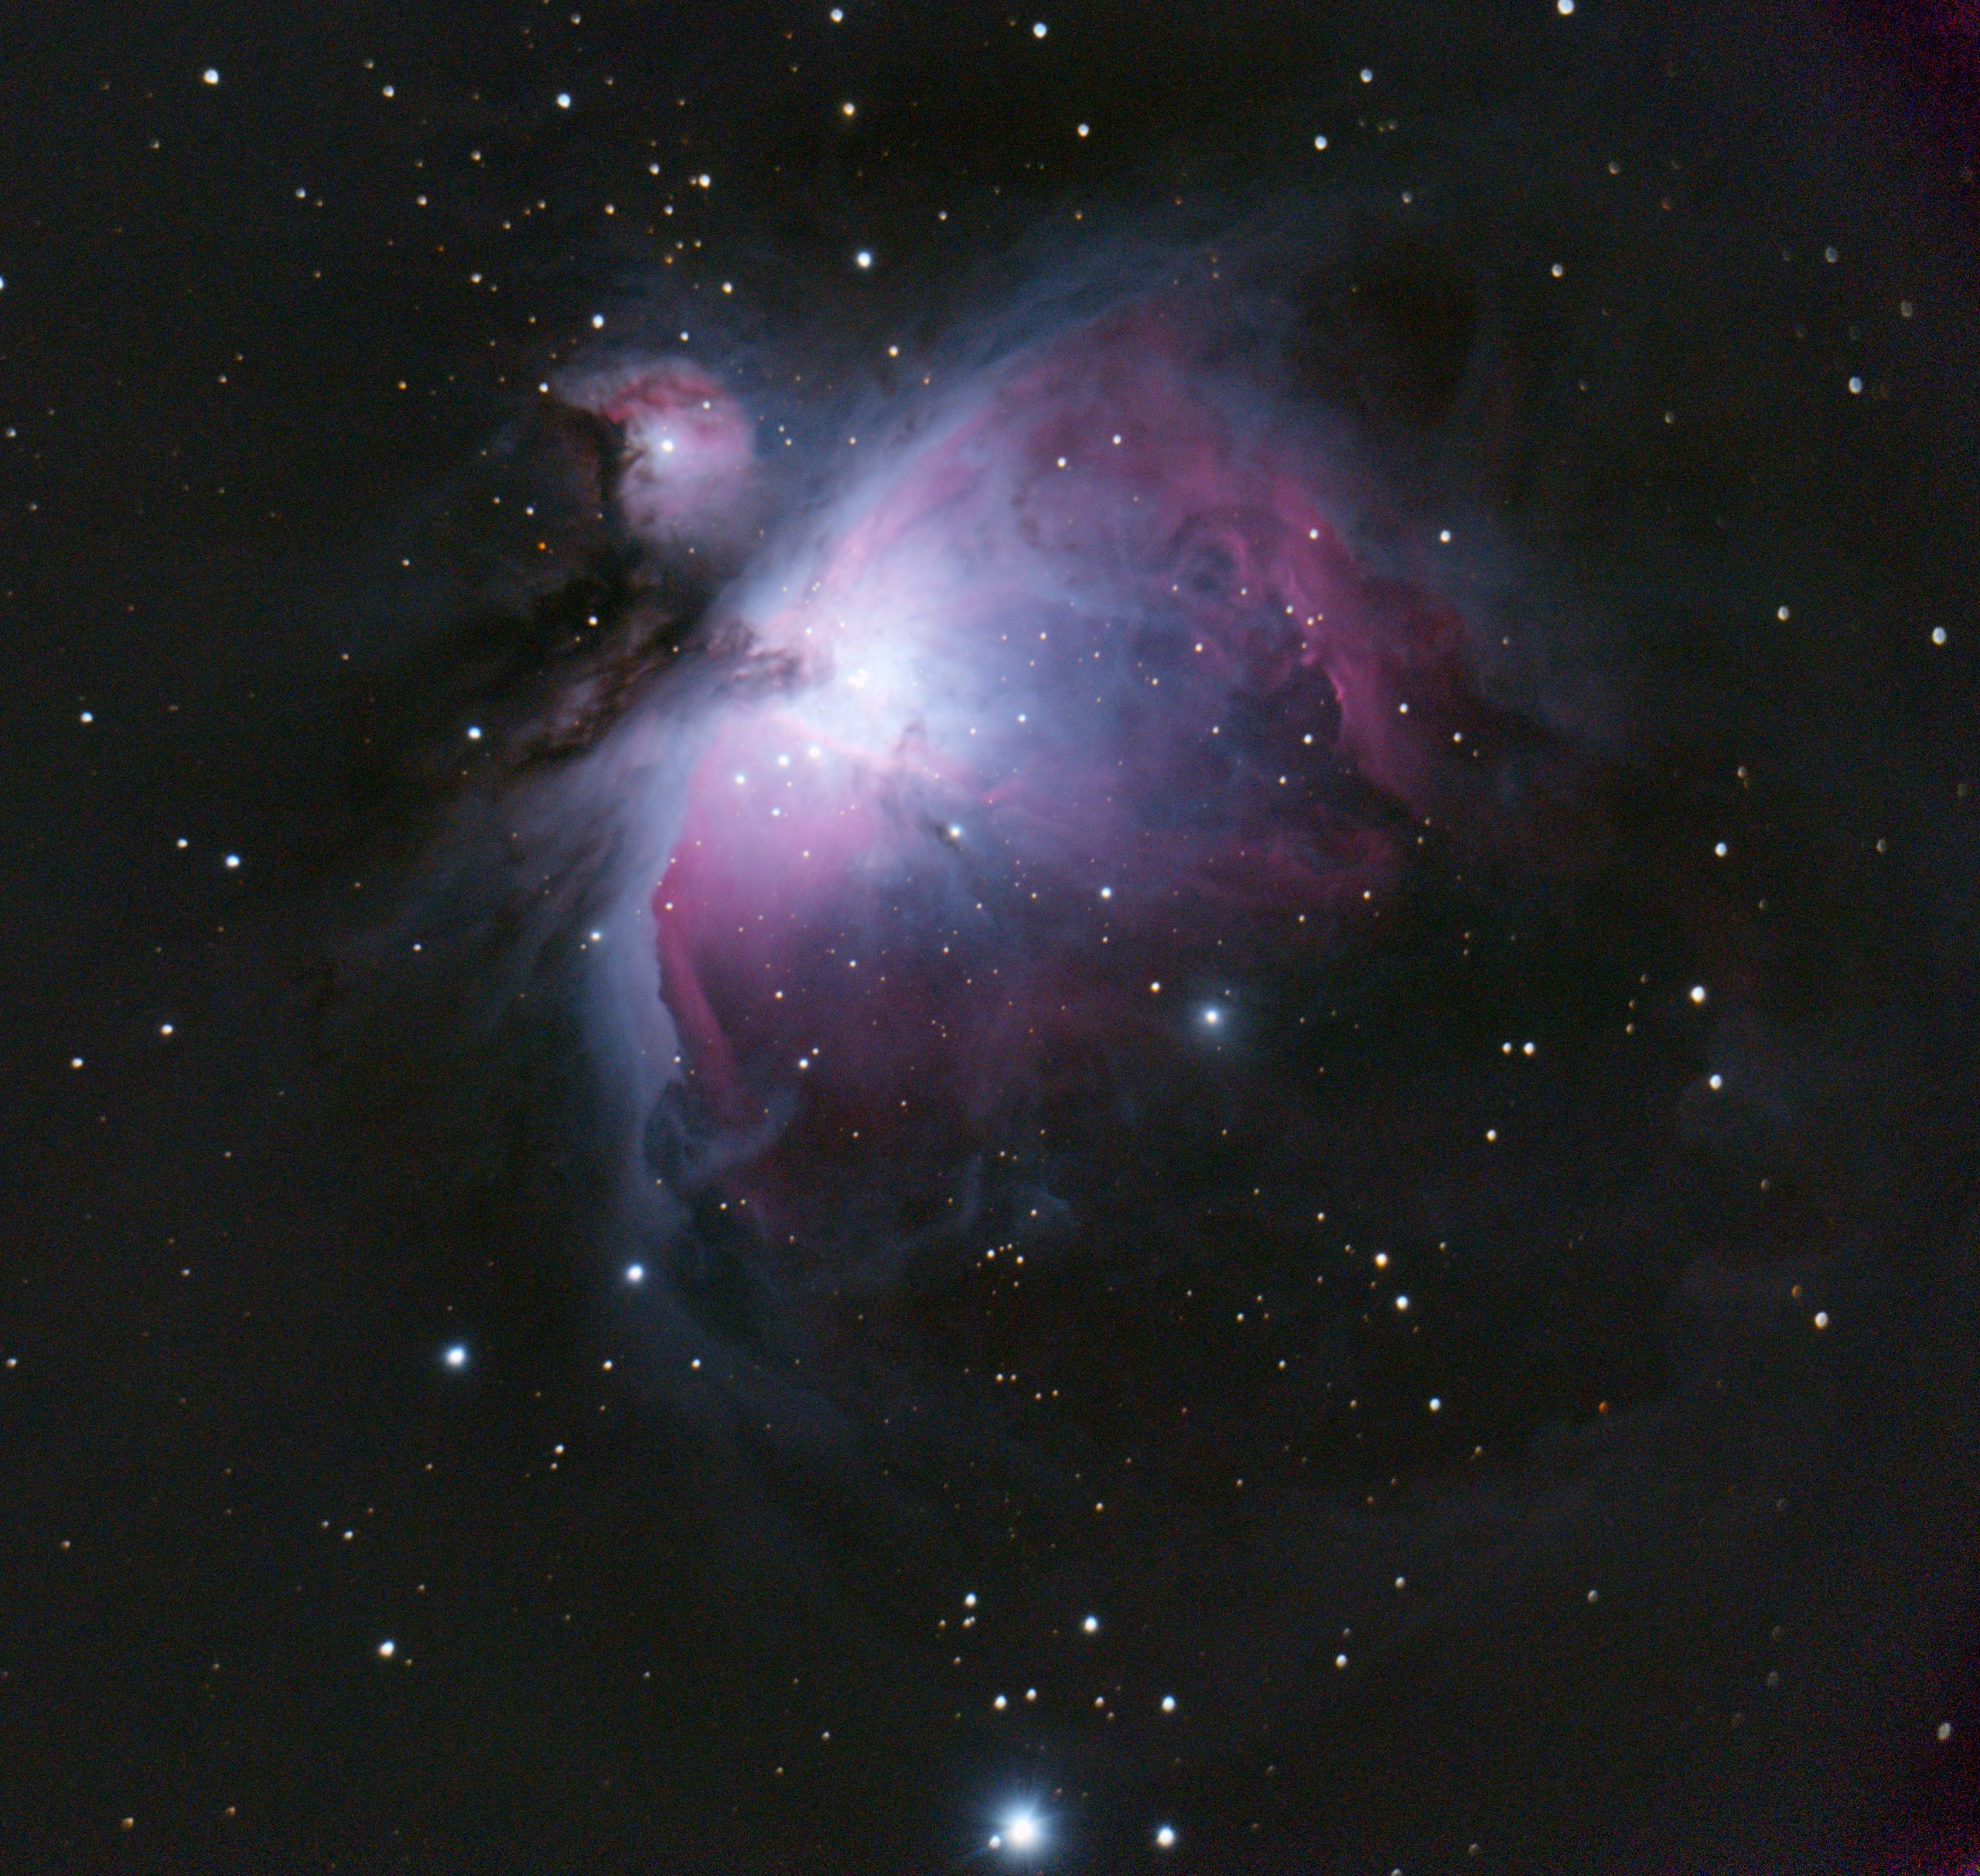
The Orion Nebula, M42 – everyone’s first target for deep sky photography, it’s big (wider than the moon), bright (this is relative, almost invisible to the naked eye but bright compared to many other objects). I must have tried a dozen times to capture this, each time getting a little better, picking out more of the swirling dust structure and colour. It’s mind-boggling to think how big this is 25 light years or 146,900,000,000,000 miles across and 1,300 light-years from Earth.
Wikipedia – https://en.wikipedia.org/wiki/Orion_Nebula
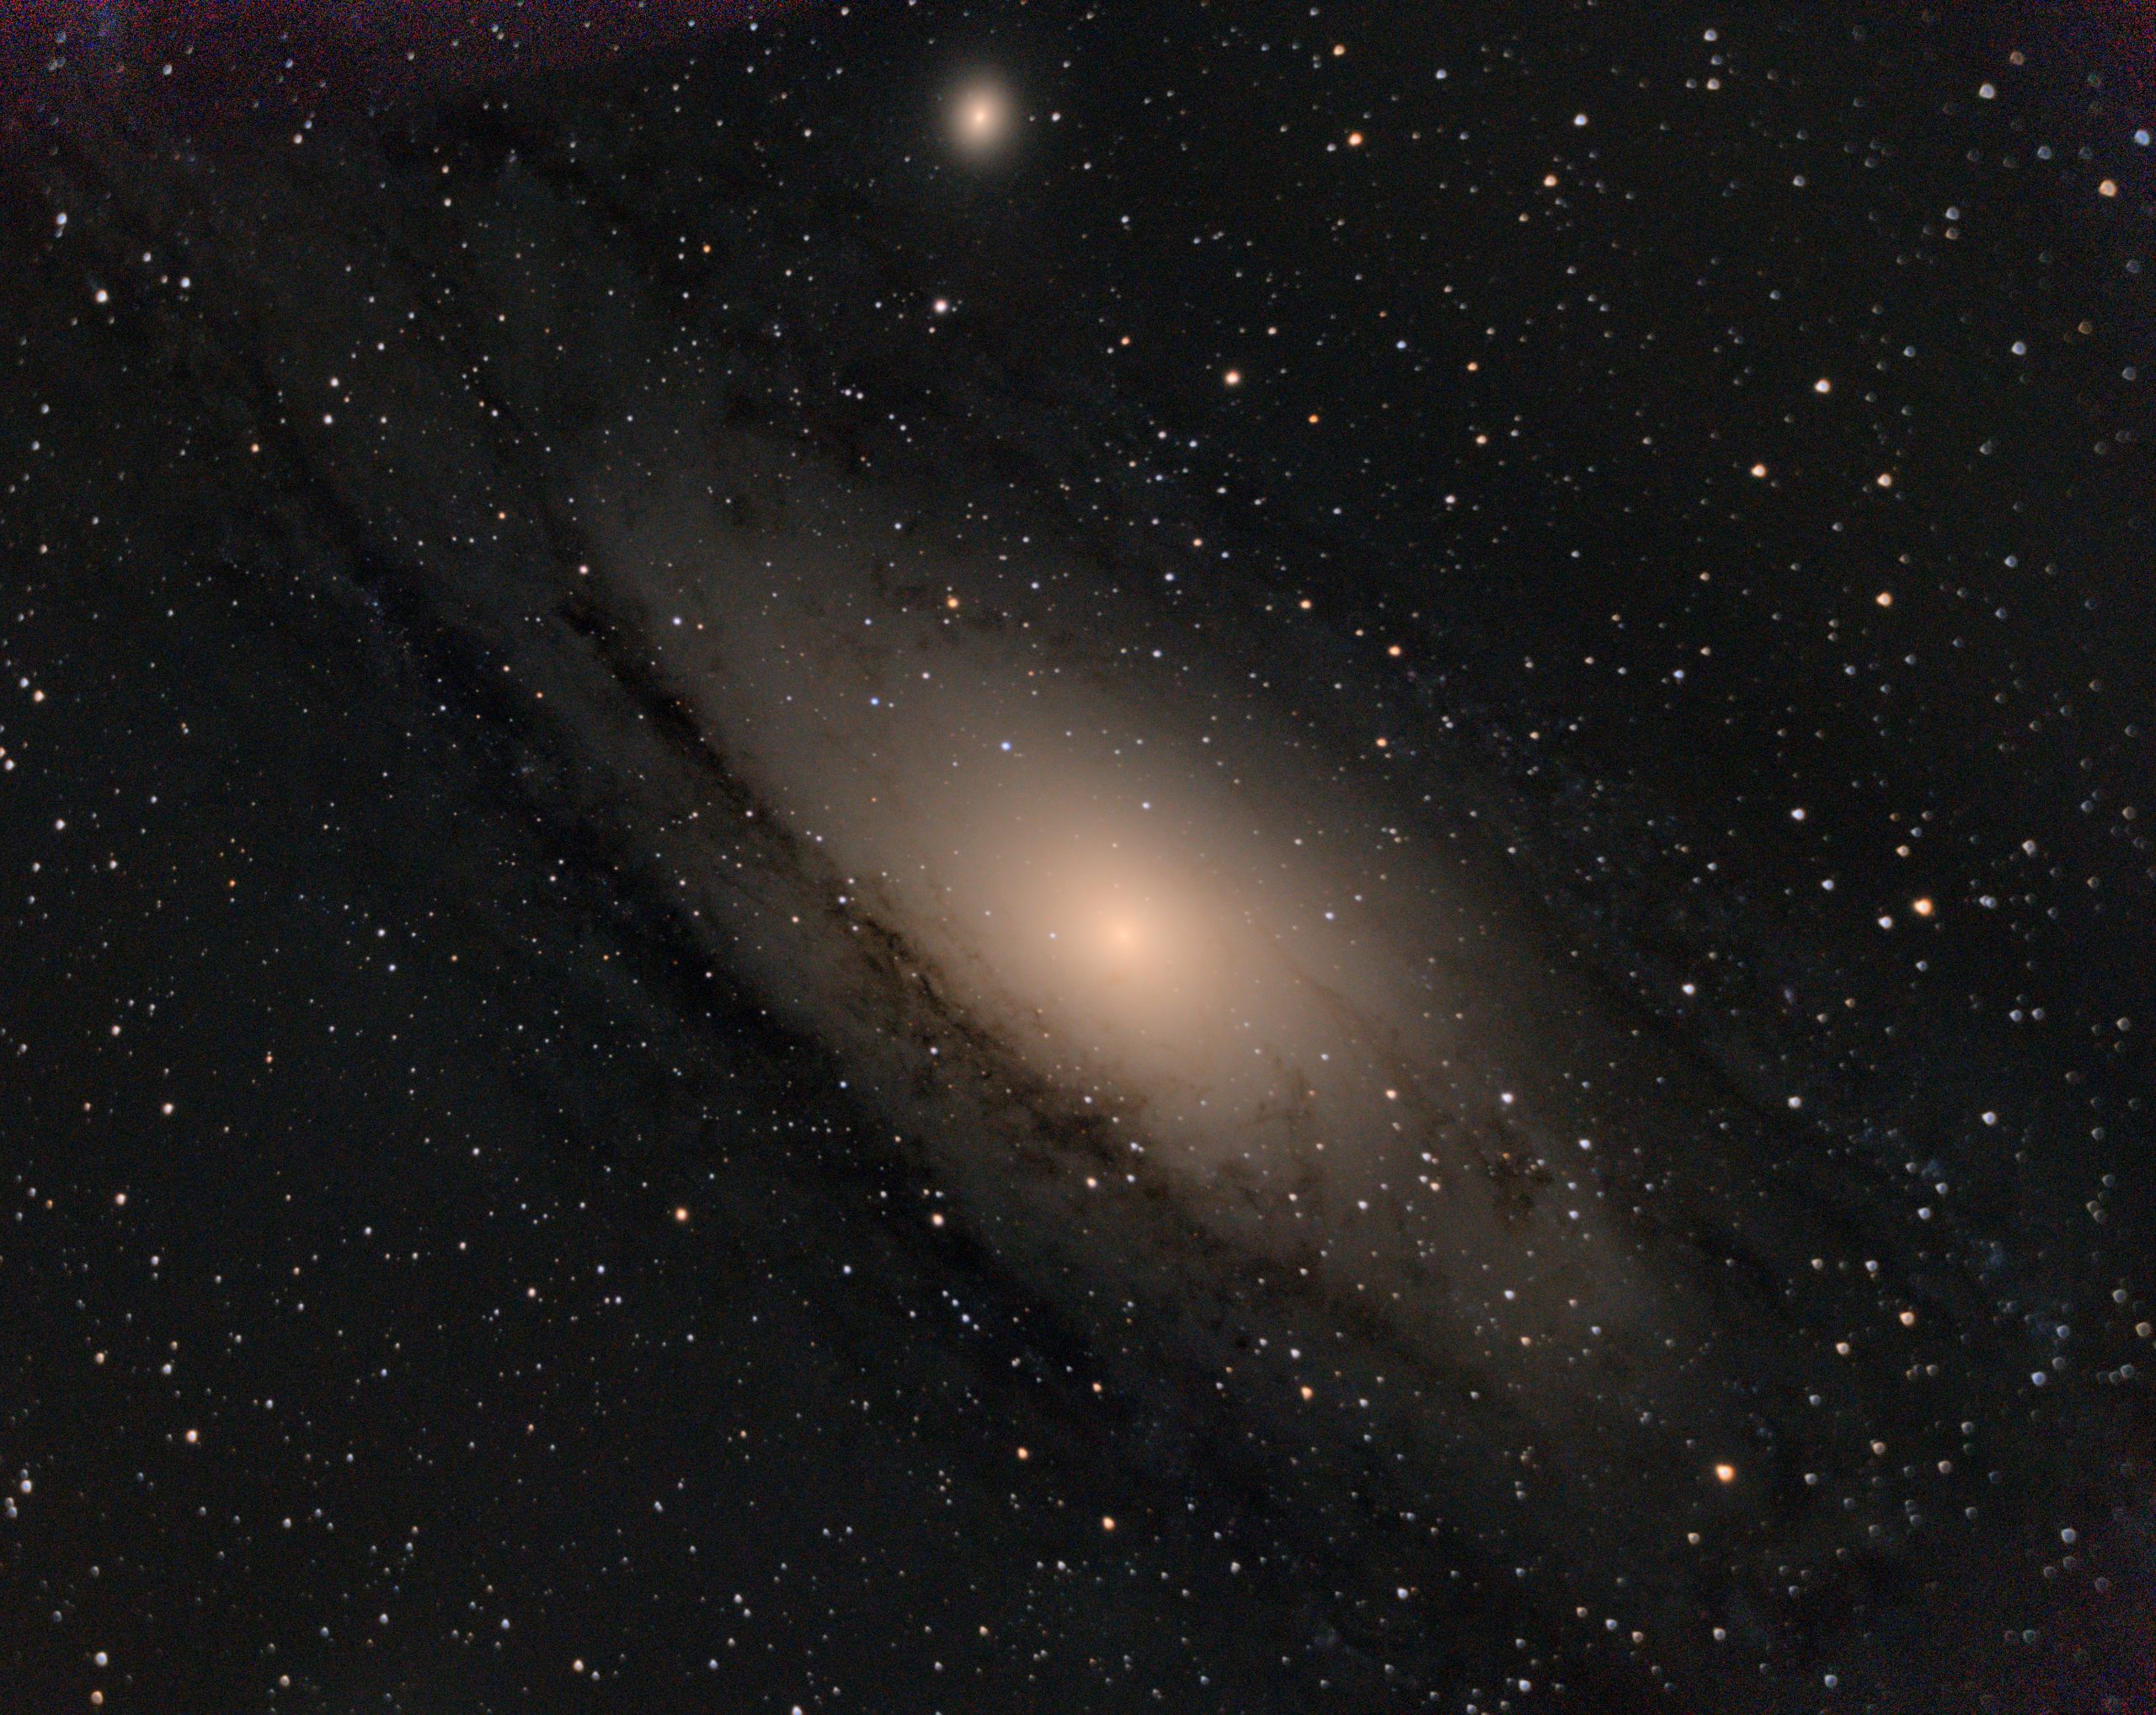
Andromeda Galaxy, M31 – Our nearest neighbour galaxy. several hundred 10-second photos, managing to bring out the dust lanes between the arms of the galaxy. This thing is massive, 6 times wider than the full moon. If only it was visible with the naked eye, it would look amazing.
Wikipedia – https://en.wikipedia.org/wiki/Andromeda_Galaxy
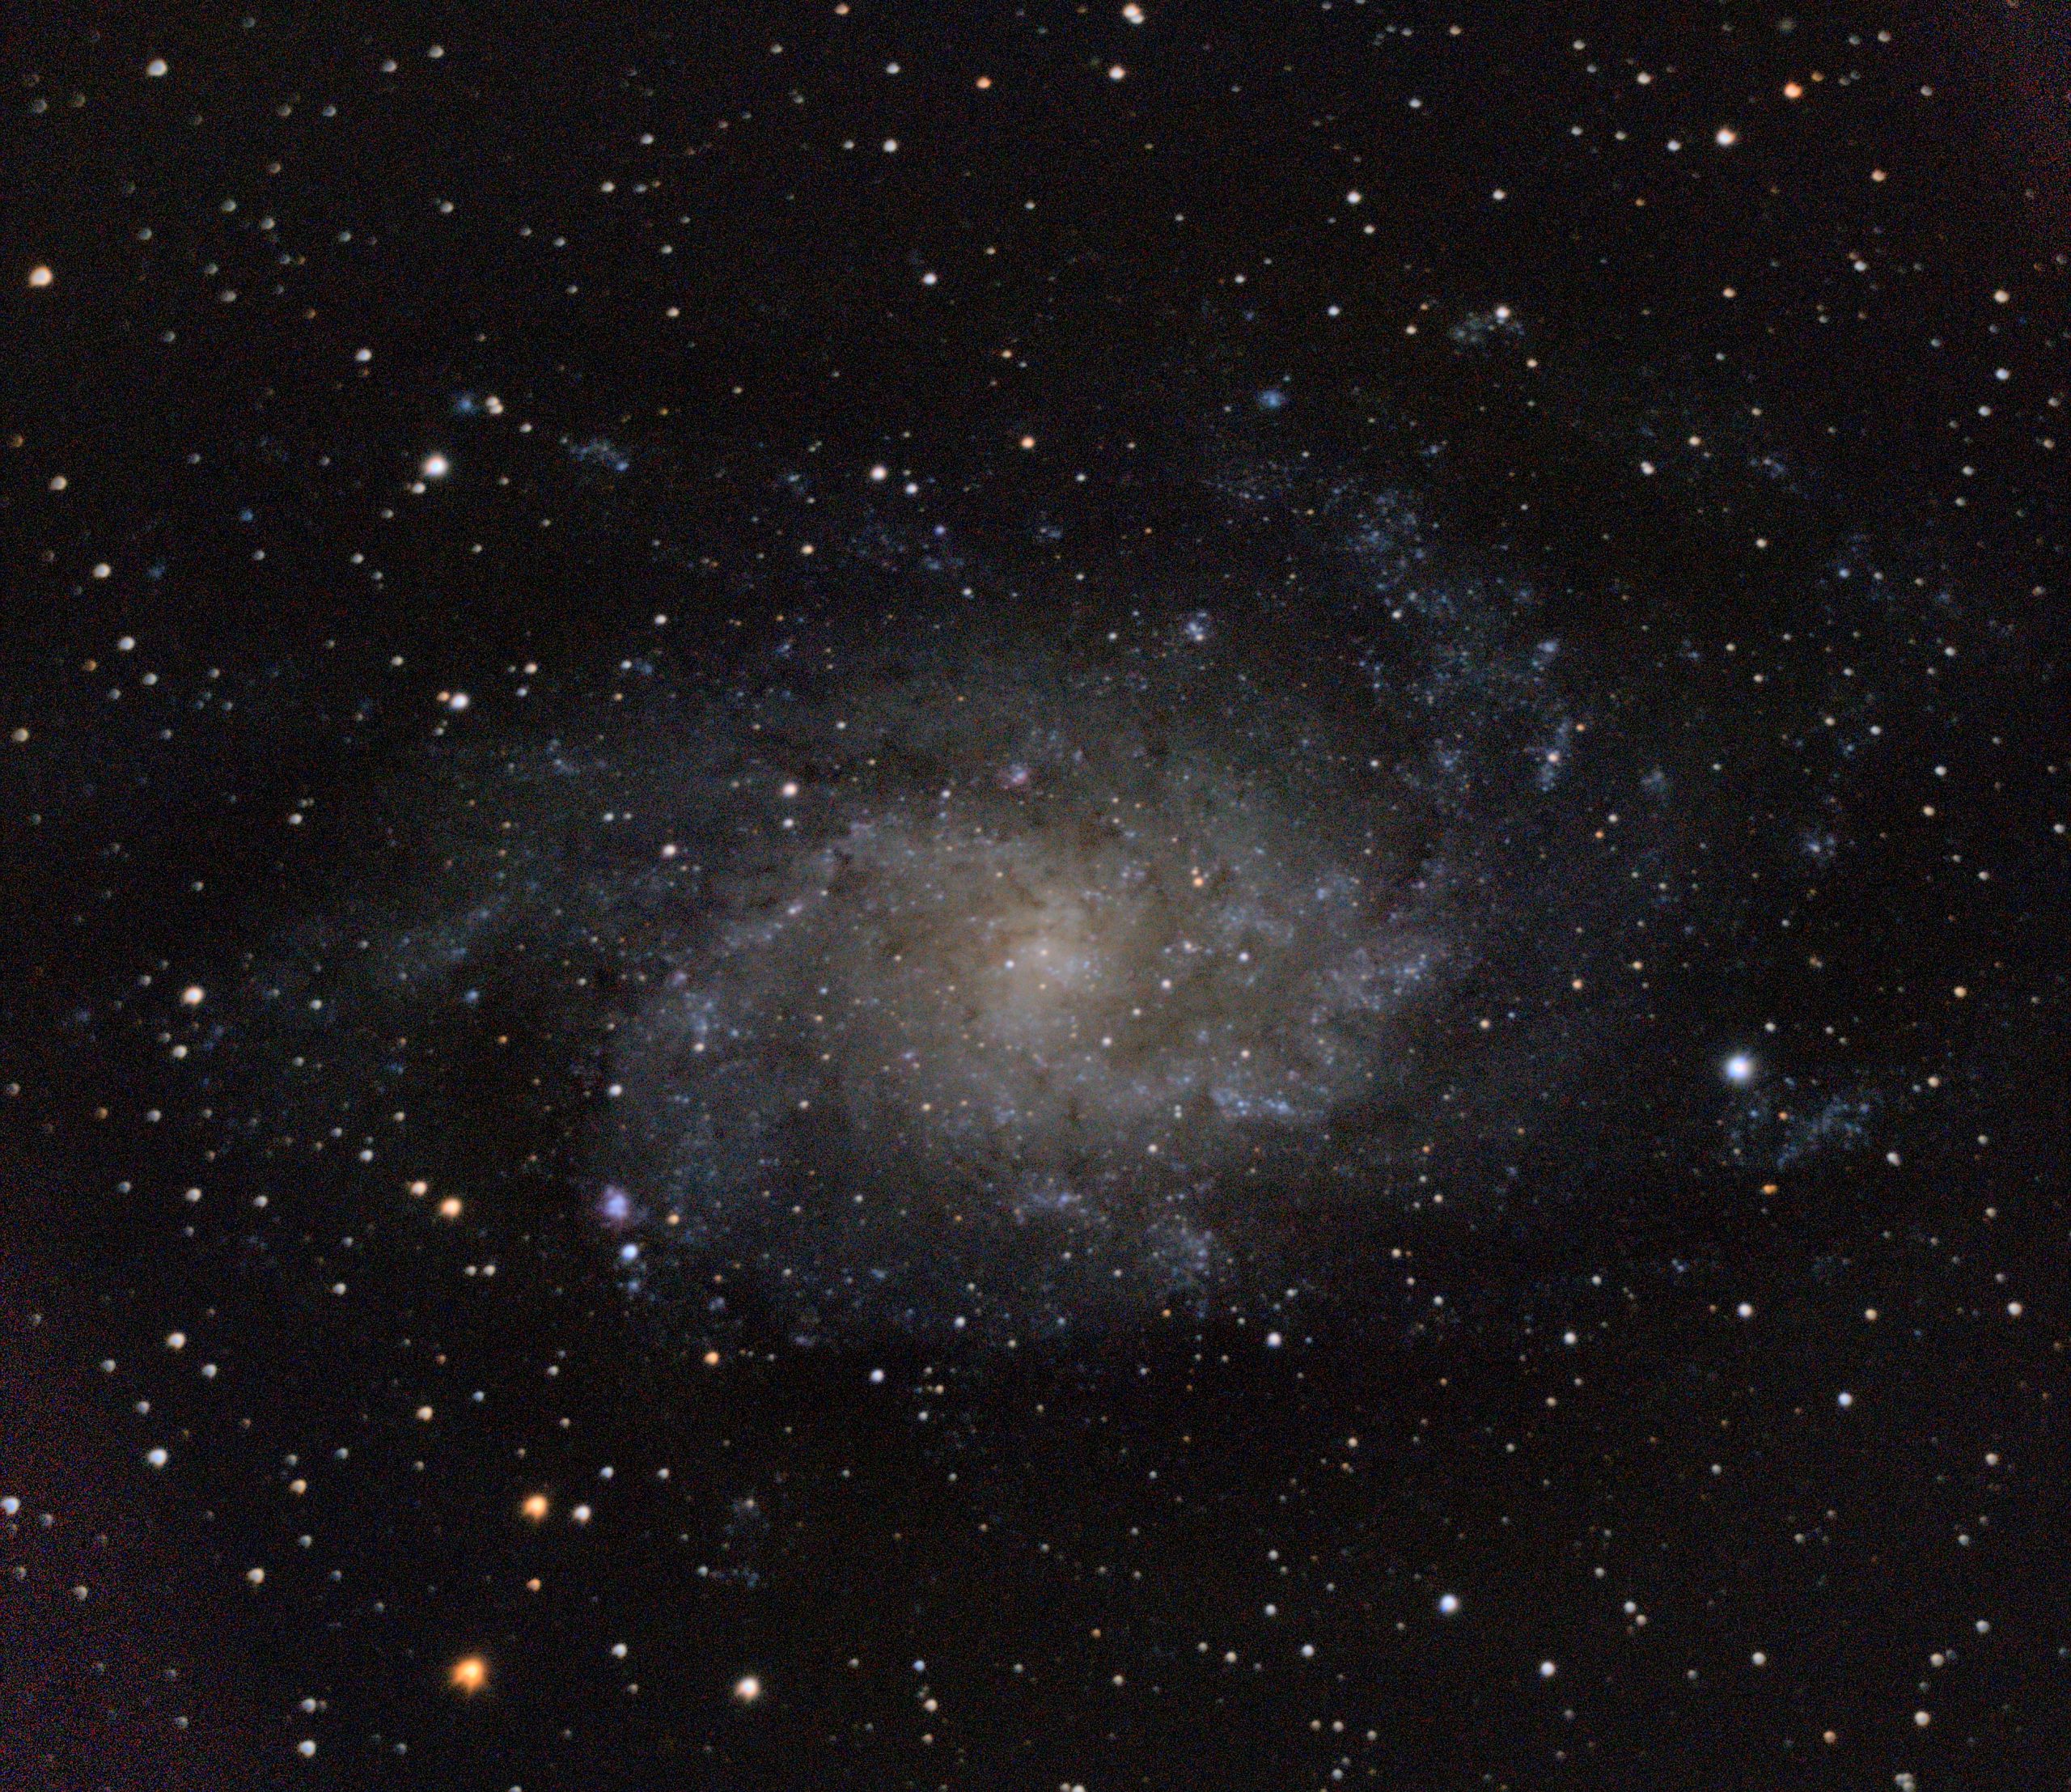
Triangulum Galaxy, M33- just starting to make out the spiral arms. The furthest naked eye visible object, if you have very good eyes.
Wikipedia – https://en.wikipedia.org/wiki/Triangulum_Galaxy
The Moon – A stack of several hundred photos to iron out the atmospheric wobble to get a sharper image than is possible with just a single photo. Photos don’t do the moon justice compared to looking at it with an eyepiece, the detail is just stunning!

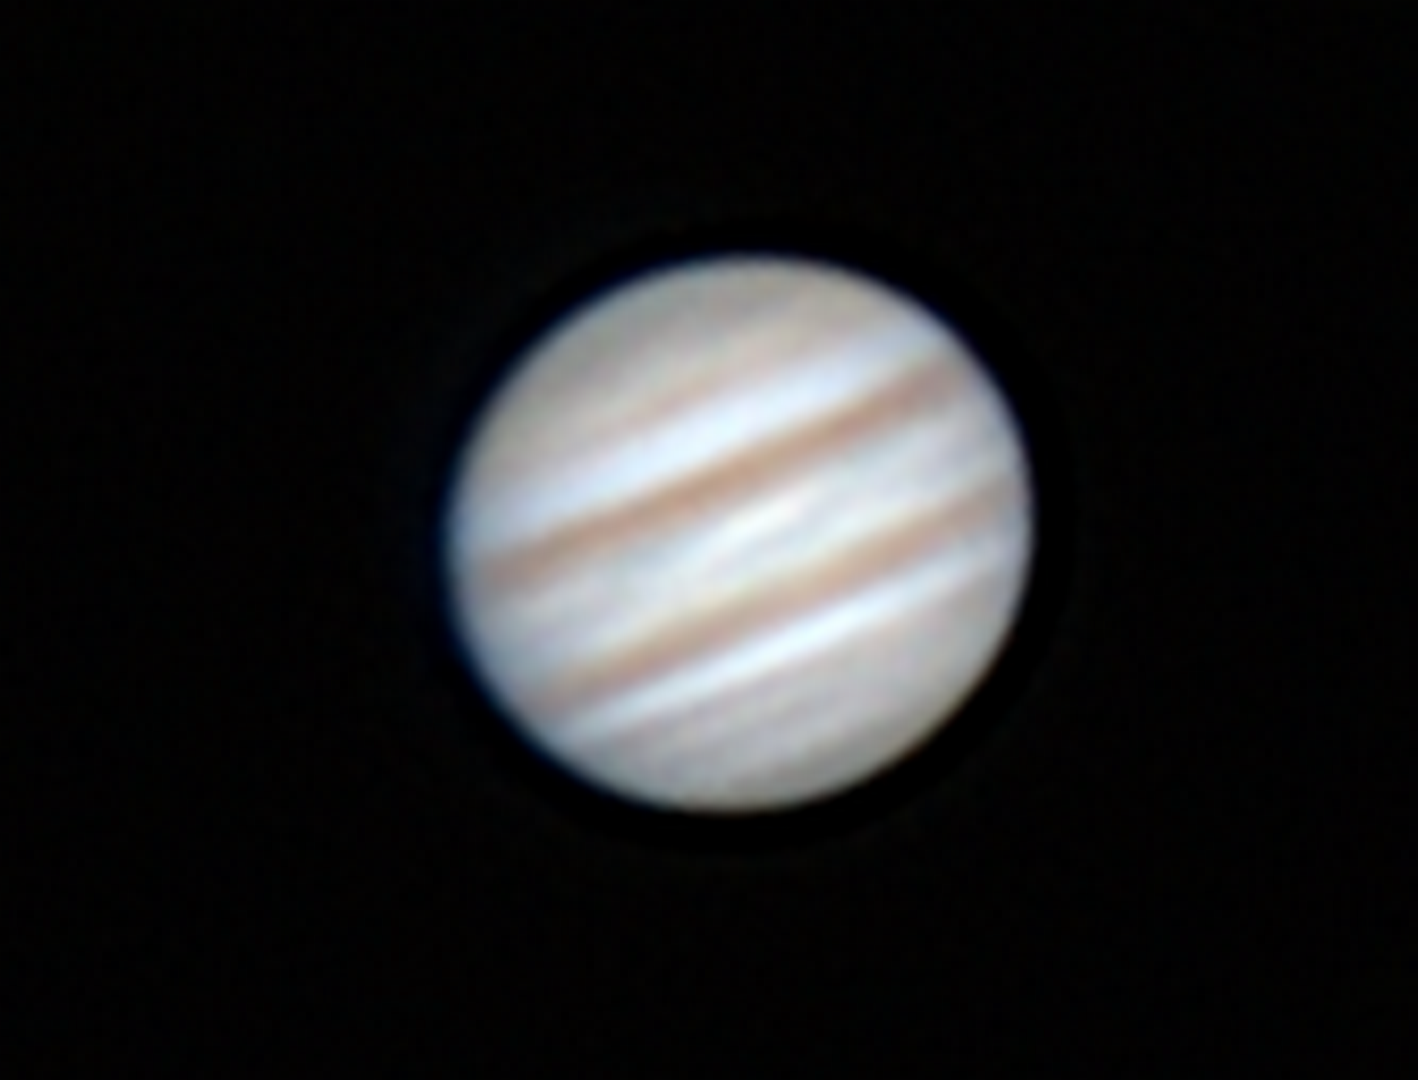
Jupiter – still early on the learning curve for planets, my Nikon is not ideal for planets but I’m managing to get the bands and colours. Ideally, I need a different high frame rate, small sensor, dedicated astro camera to capture it well.
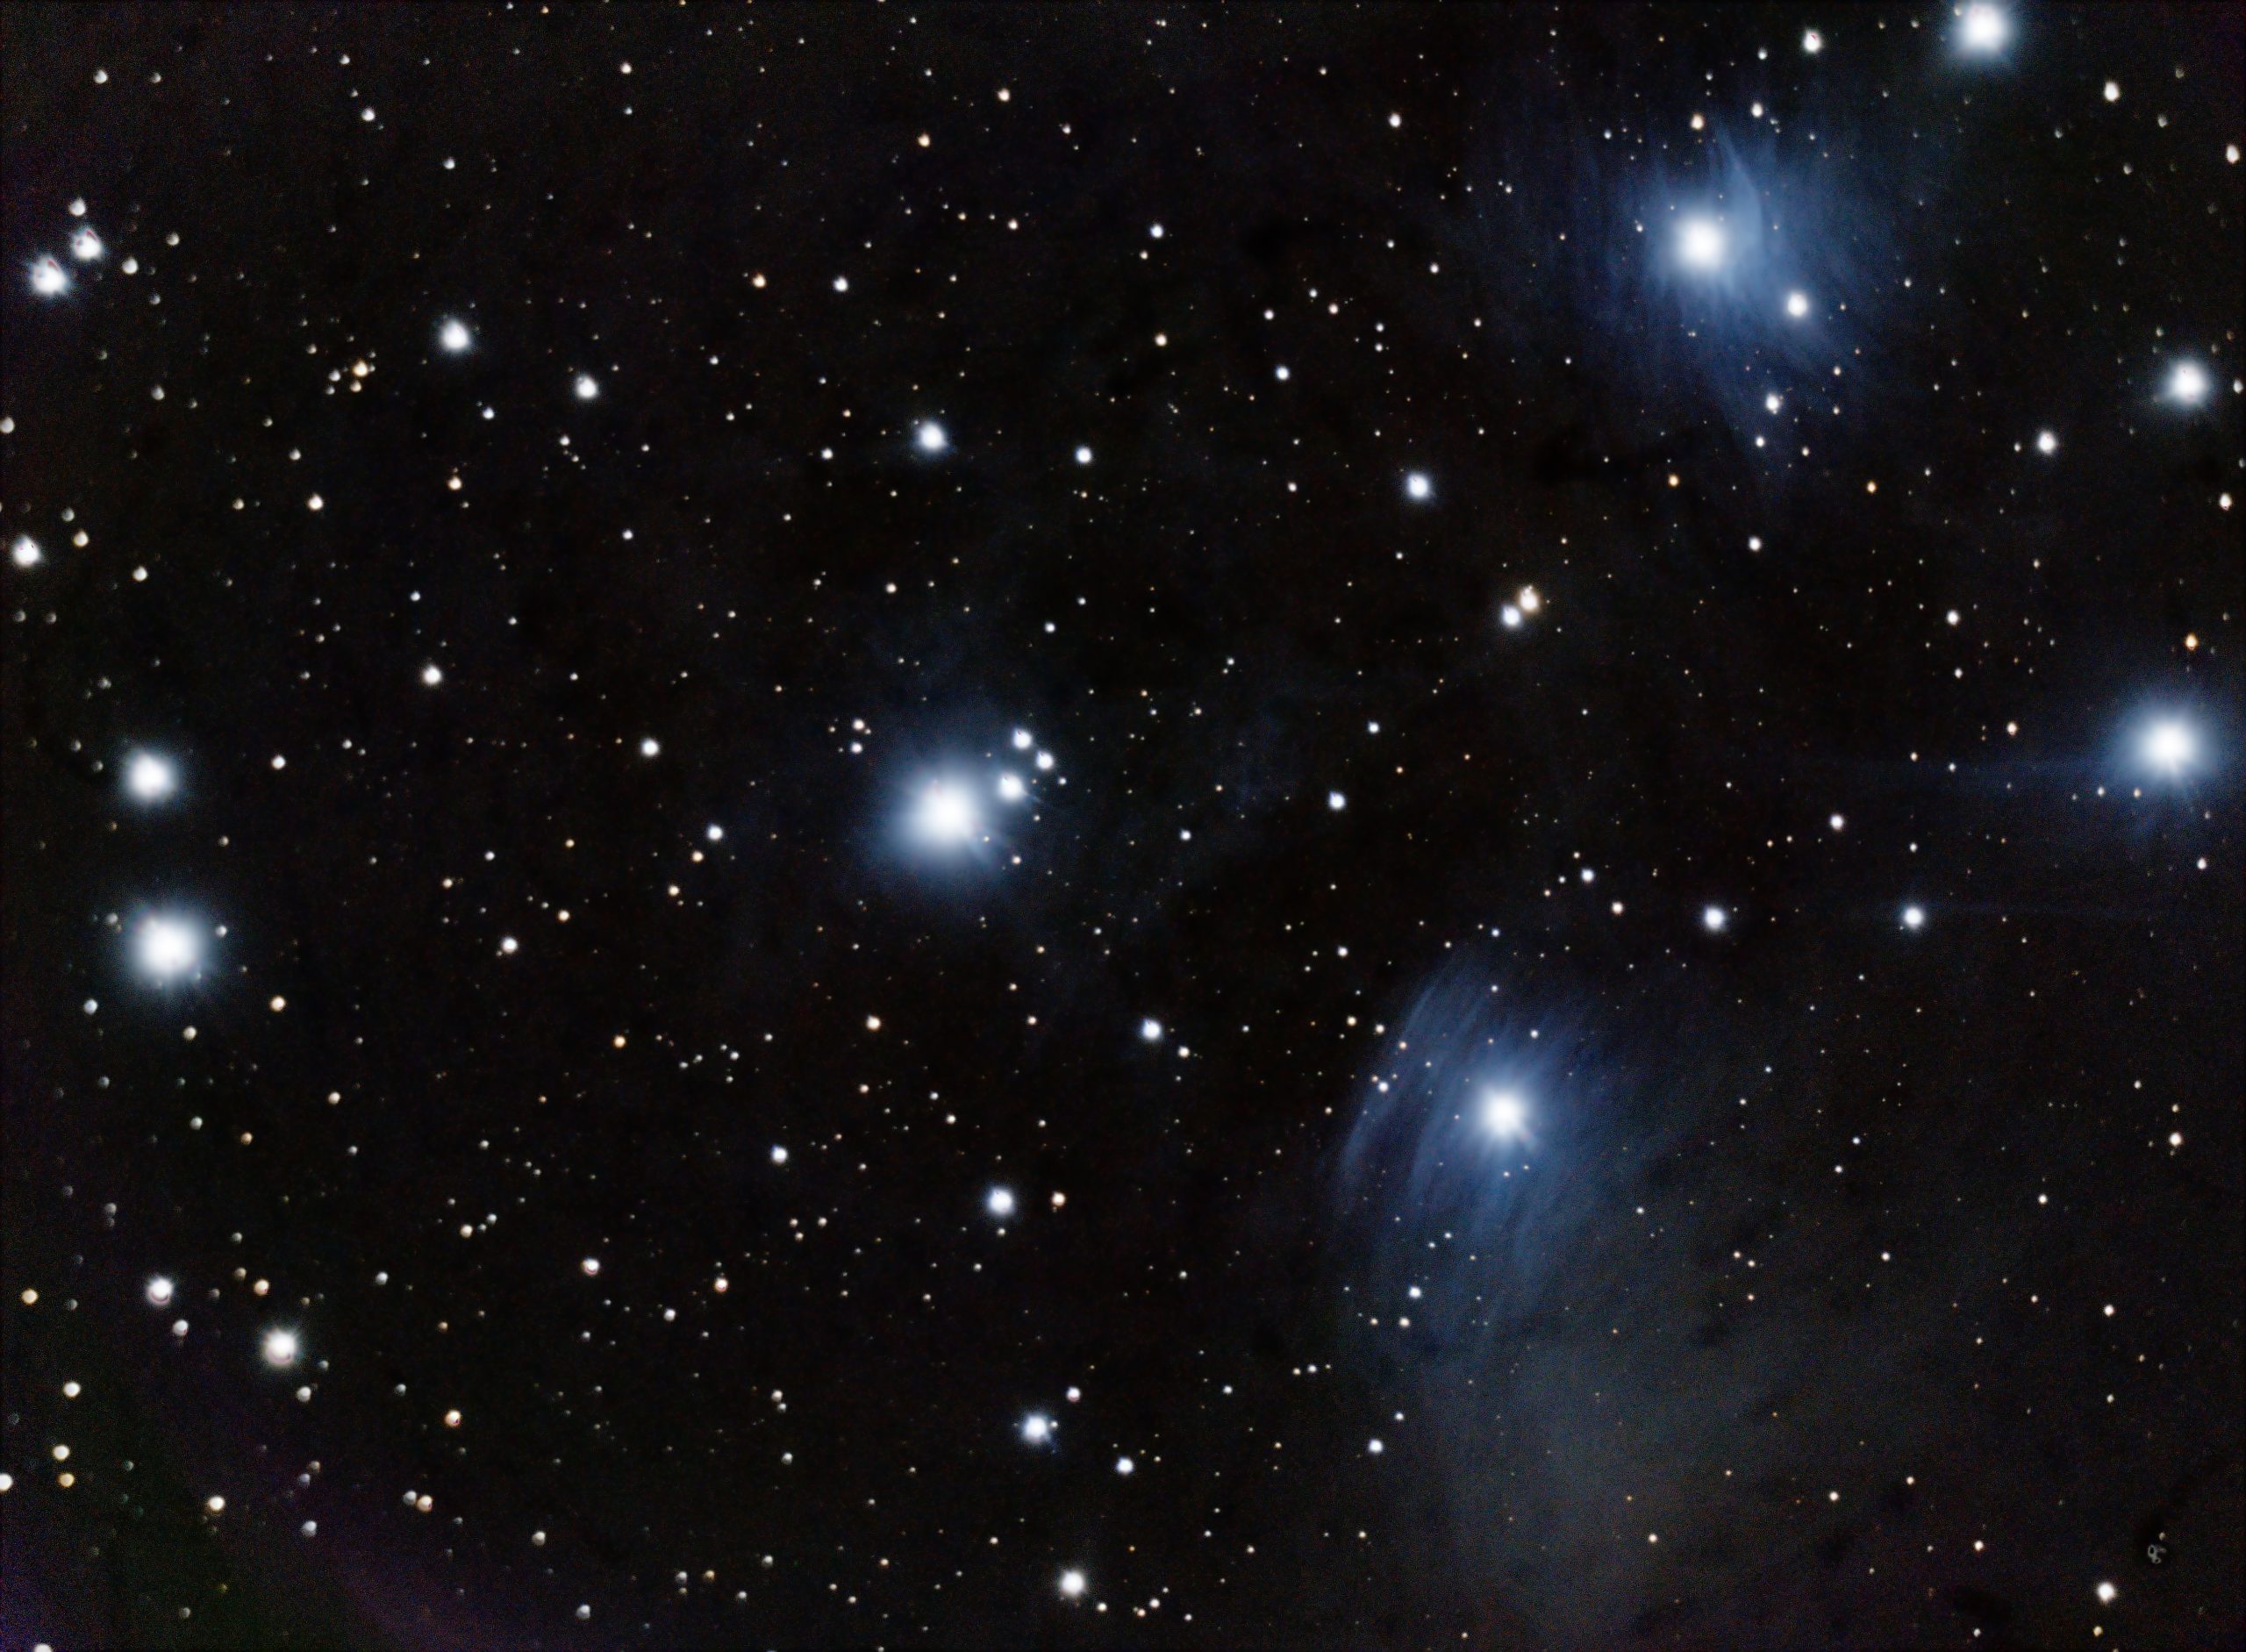
The Pleiades or Seven Sisters, M45 – an open cluster of stars, one of the closest to Earth, the little fuzzy patch just up from Orion. Just starting to pick out some of the glowing dust between the stars.
Wikipedia – https://en.wikipedia.org/wiki/Pleiades
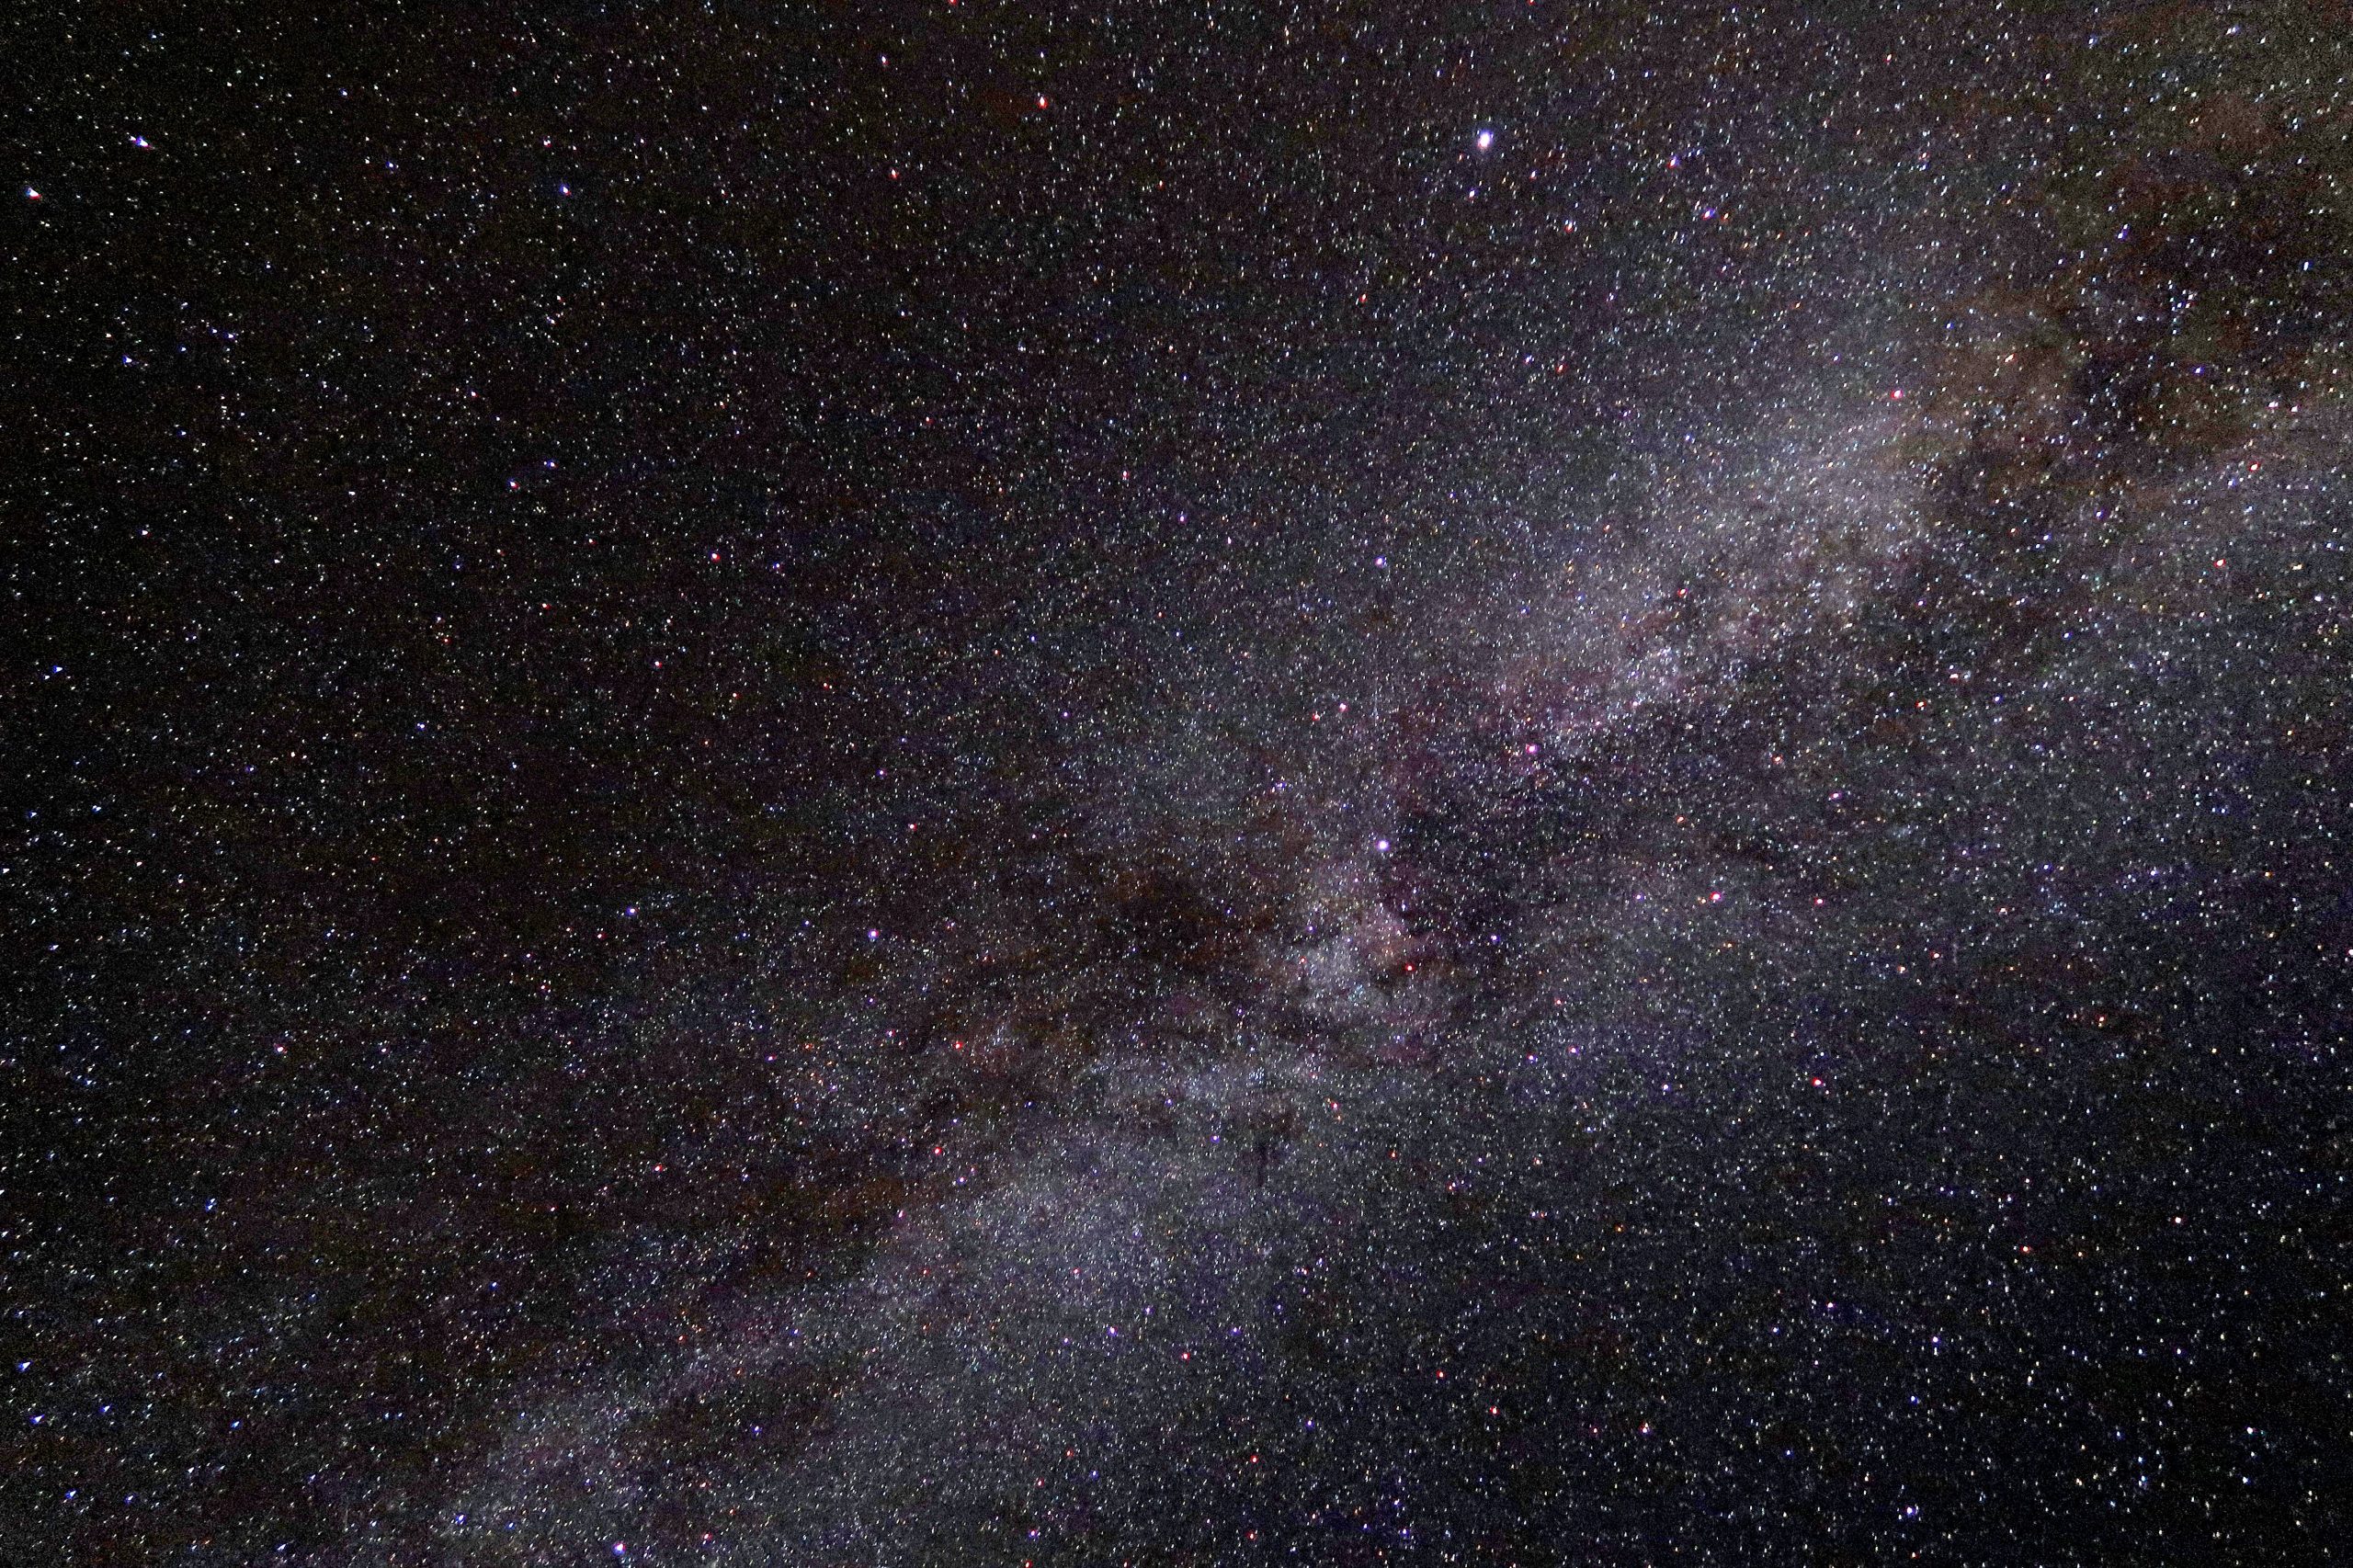
Milky Way – a wide field single photo taken from a very dark spot with perfectly clear sky. Lots of room for improvement here but my first attempt.
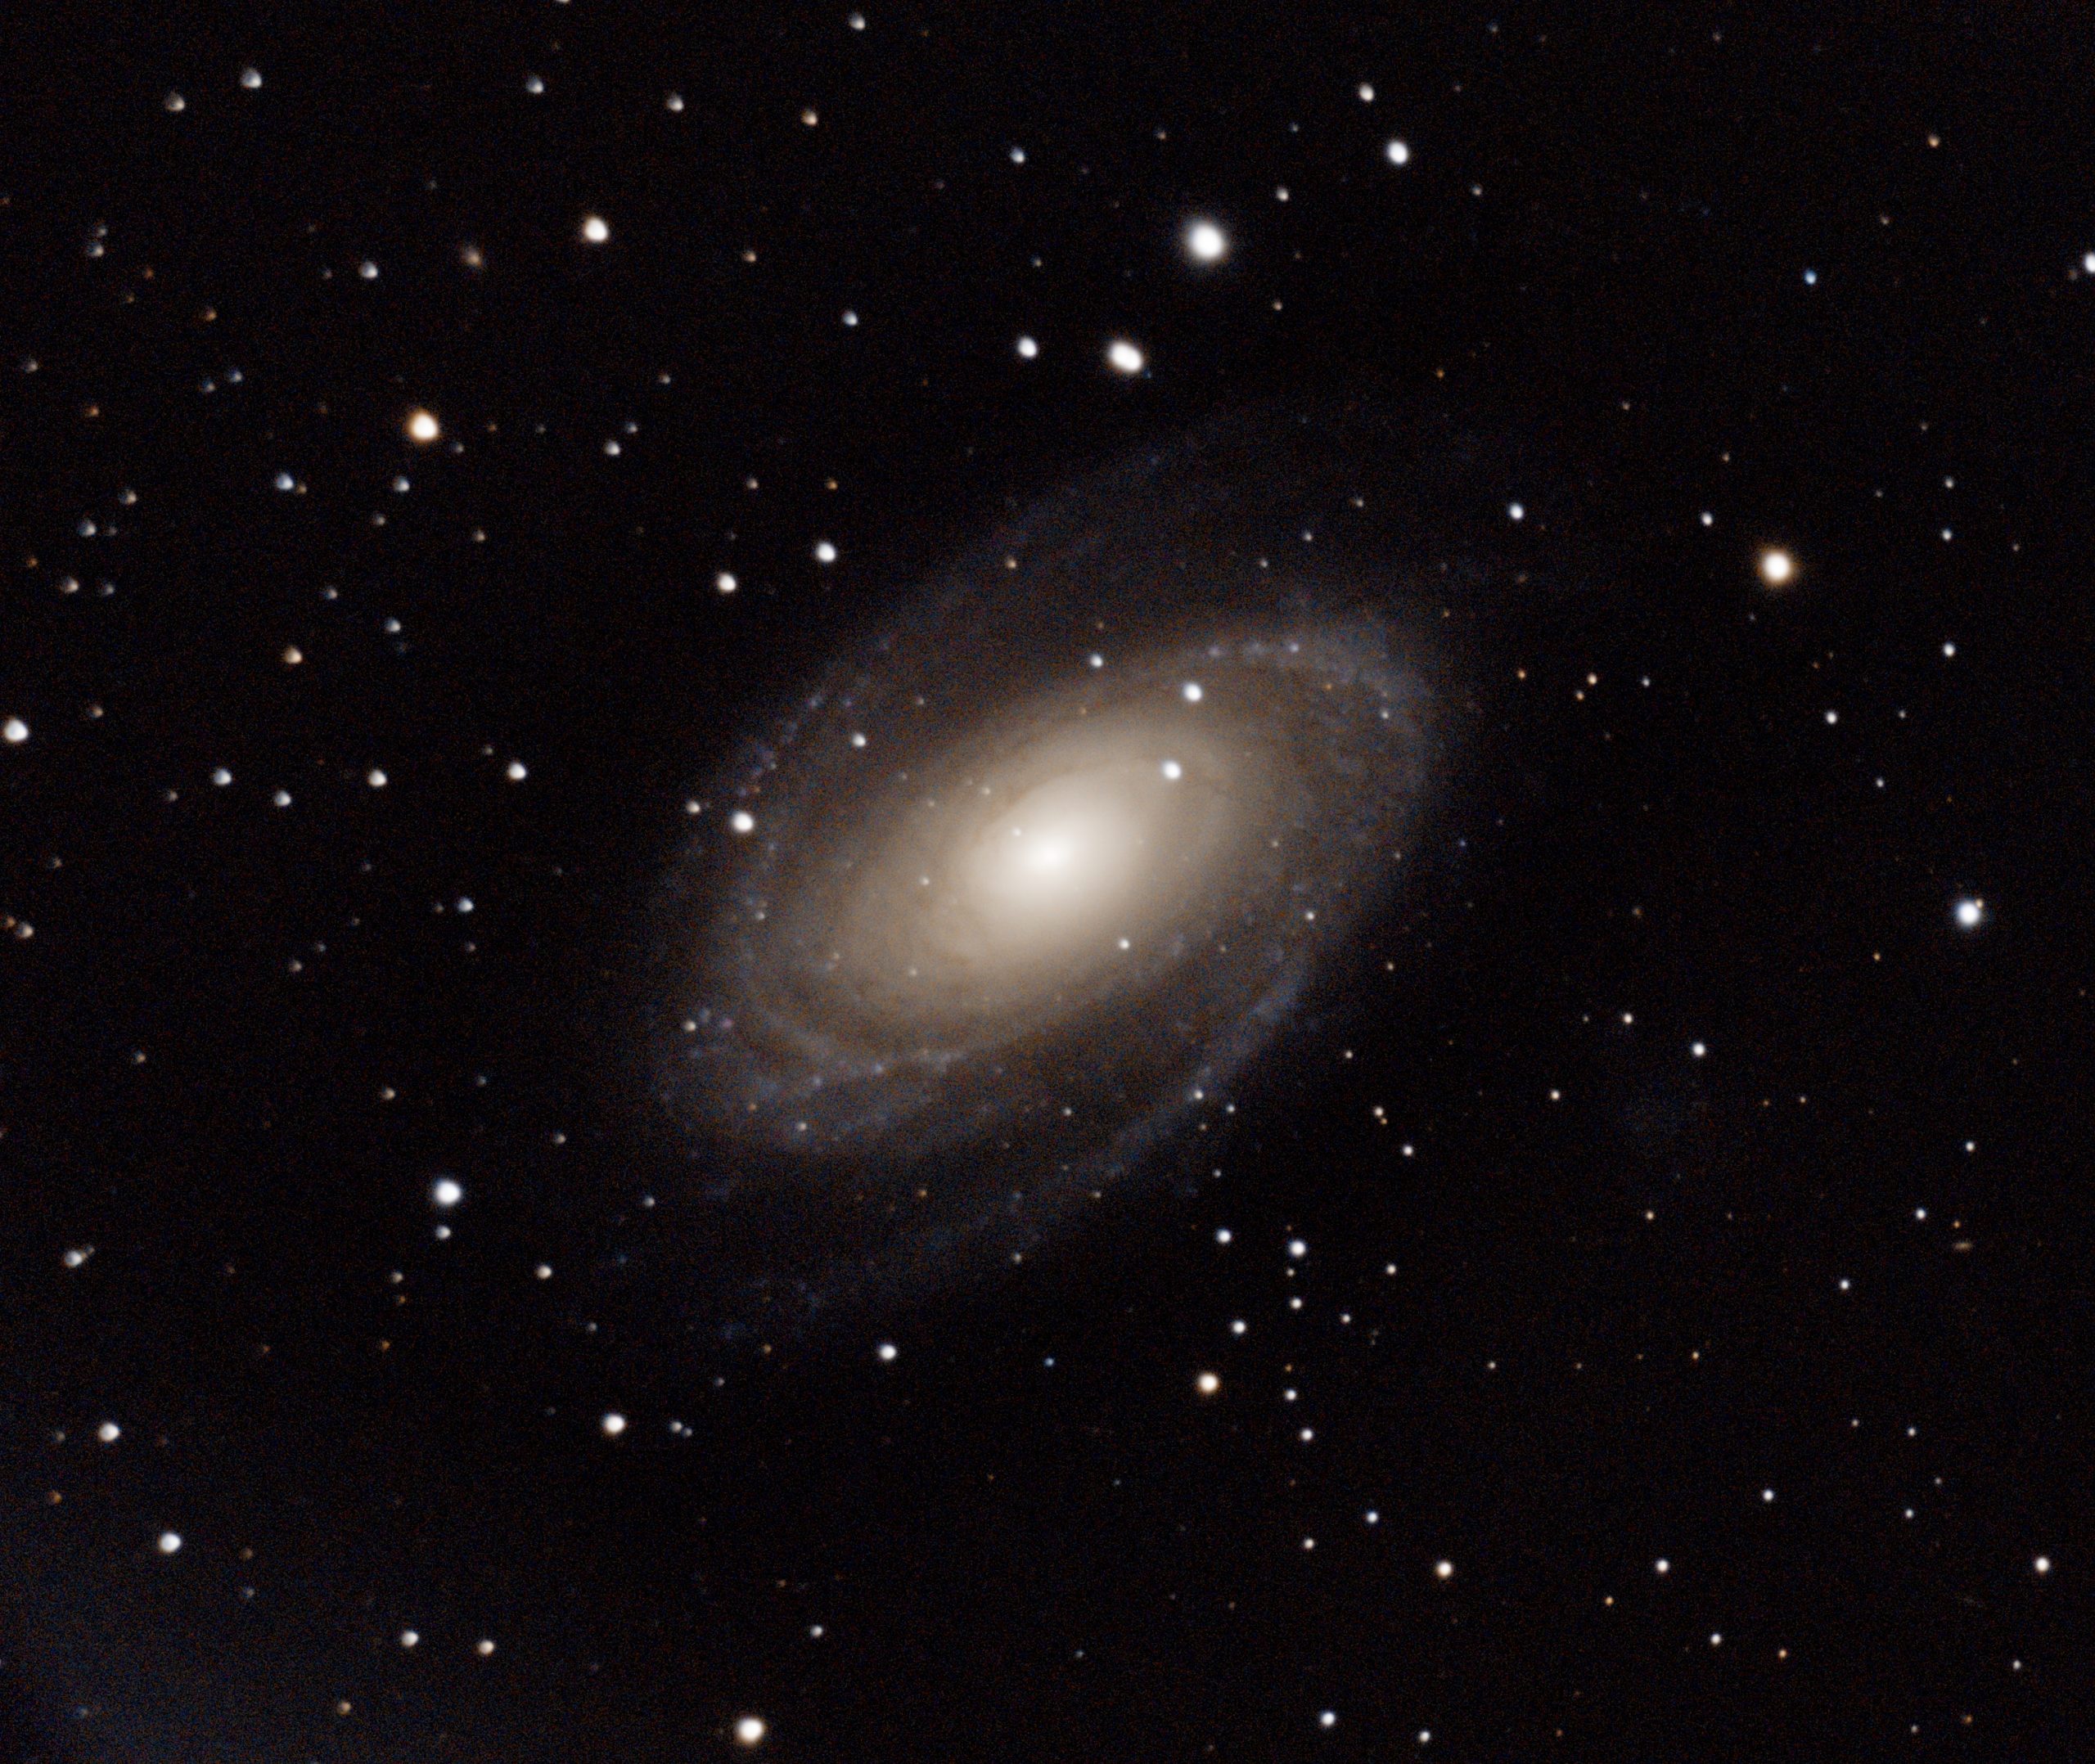
Bodes Galaxy, M81- 250 billion stars in one photo.
Wikipedia – https://en.wikipedia.org/wiki/Messier_81
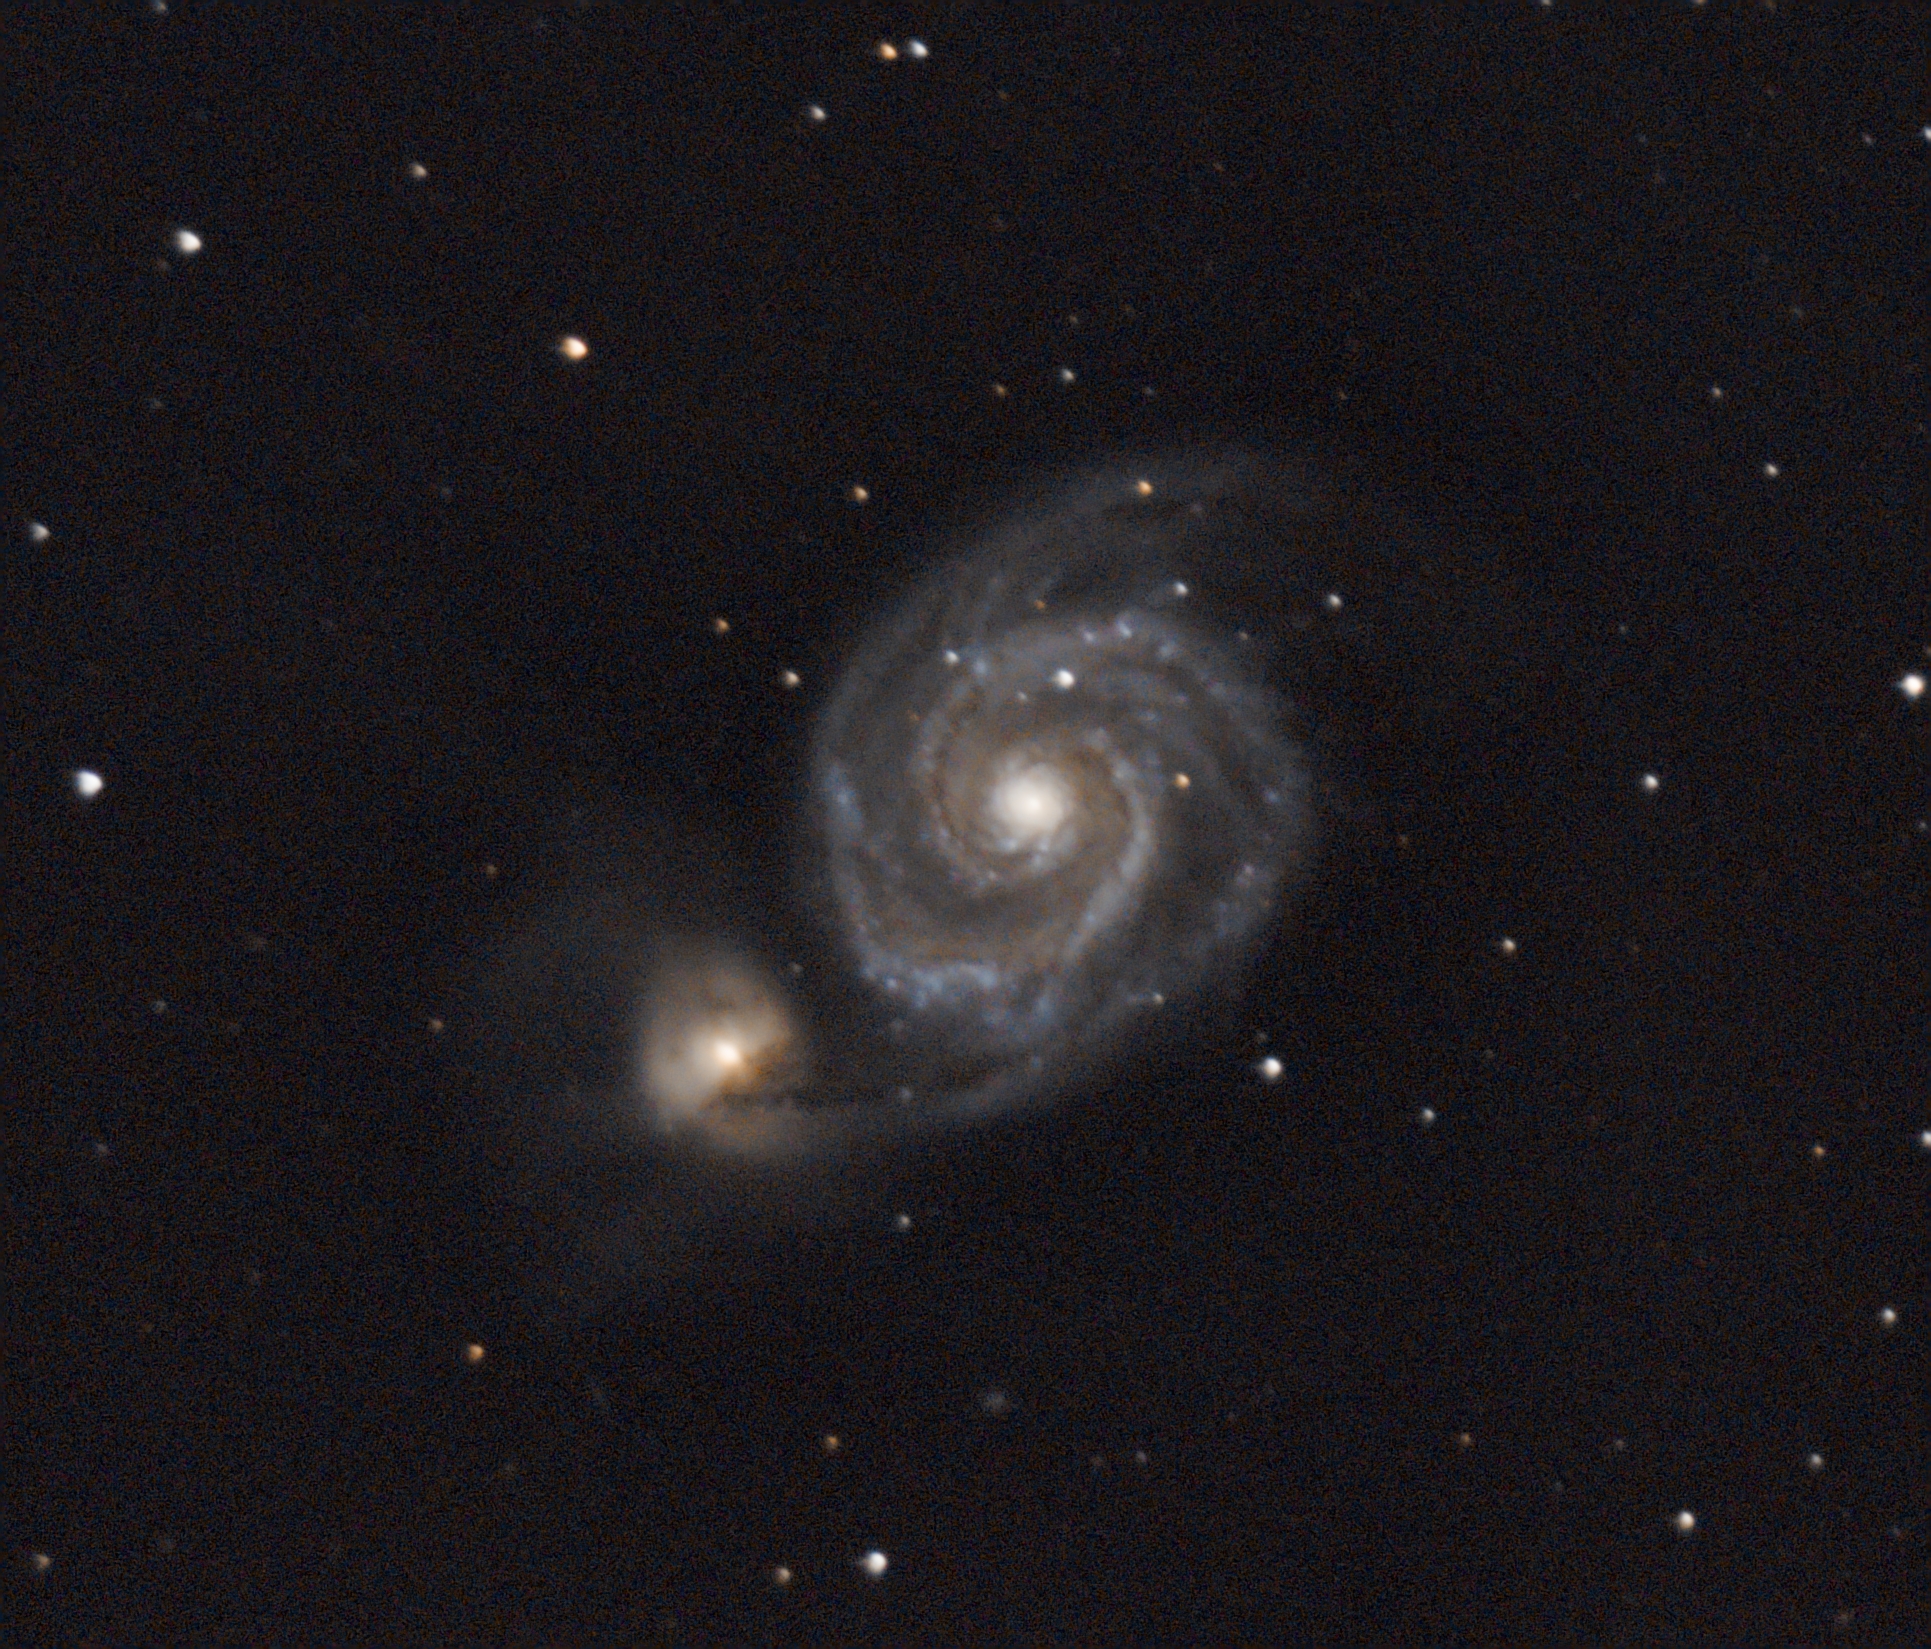
Whirlpool Galaxy, M51 – 31 million lightyears away! ~450 x 10-second photos stacked together.
Wikipedia – https://en.wikipedia.org/wiki/Whirlpool_Galaxy
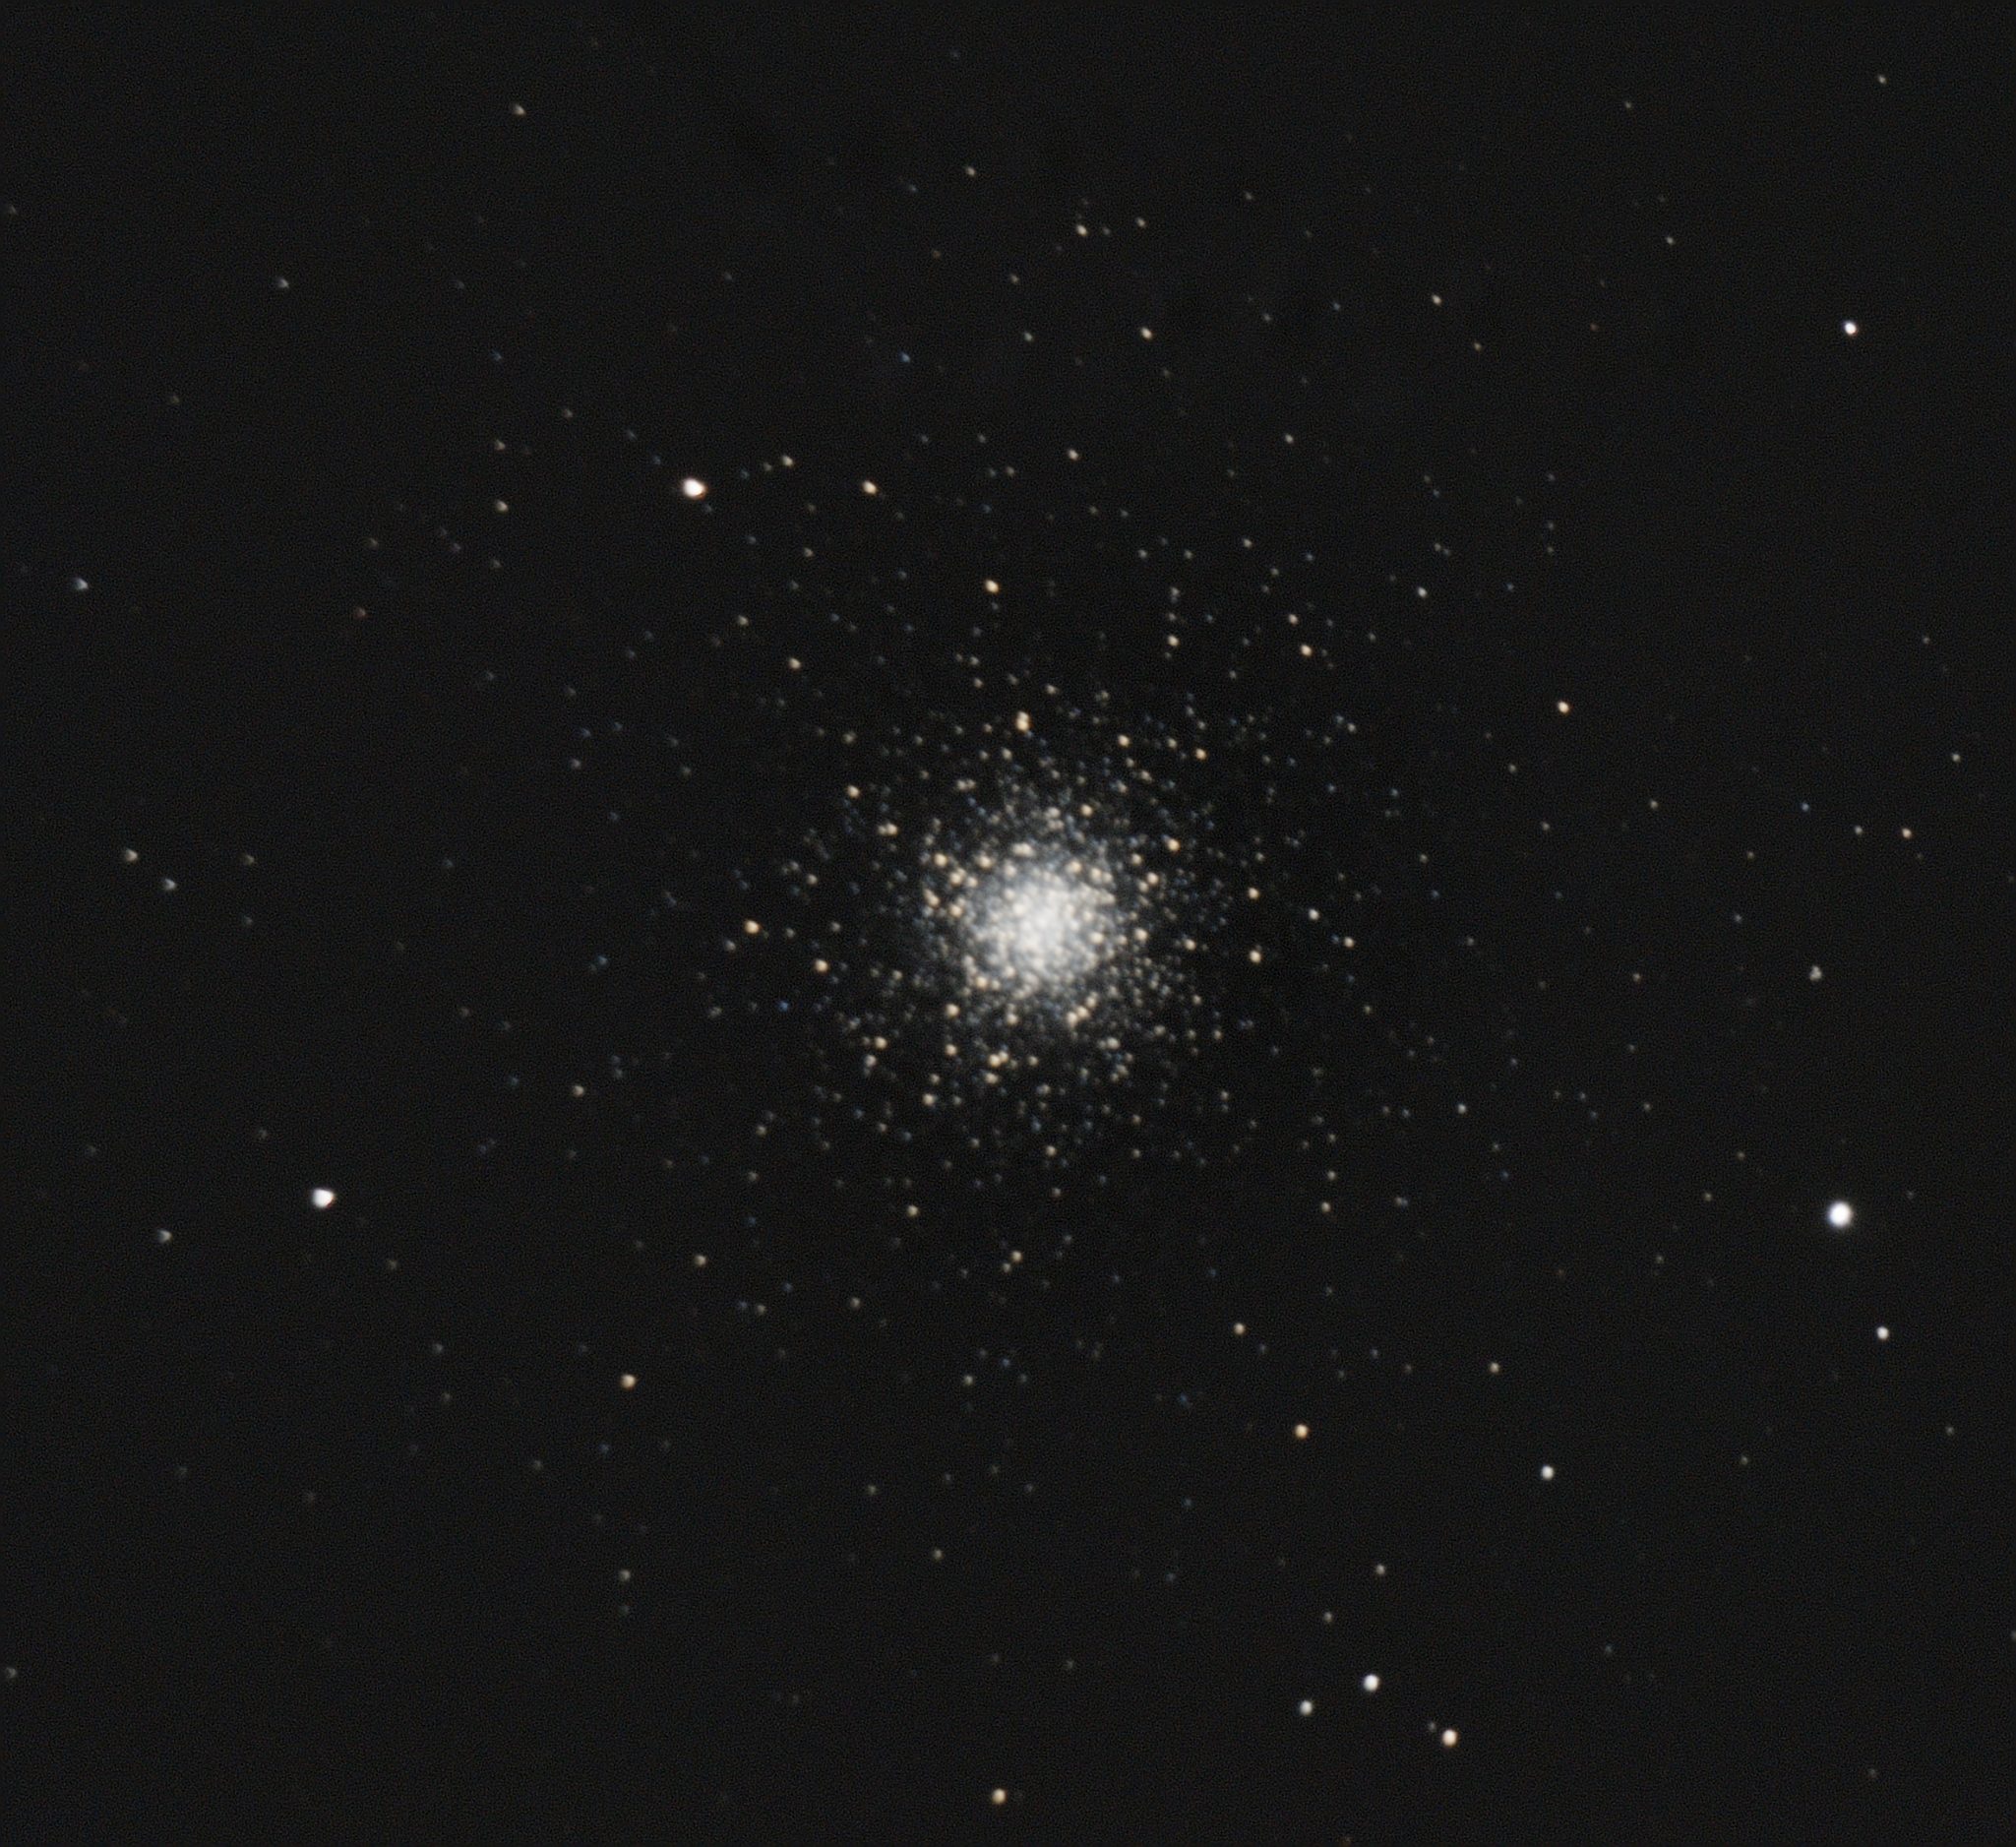
Globular Cluster, M3 – these things are strange, a tight ball of stars, hanging out between the galaxies. Originaly thought to be just a star, but when looked at with a good enough telescope, we realised they were a star made of stars! more info here… https://www.youtube.com/watch?v=YXcfoBo_MKk
Wikipedia – https://en.wikipedia.org/wiki/Messier_3